Pumpkin Spice Oreo Truffles

Well, I had to find something to do with the leftover Pumpkin Spice Oreos I had from last week’s Krispie Pumpkin Spice Oreo Tartlets, so I made some truffles. I love Oreo truffles. They are so easy to make and with all the different Oreos that keep coming out, there is a flavor for everyone’s liking. And you can shape the dough in a variety of ways. I used a pumpkin ice cube tray to shape these pumpkin truffles.

The Pumpkin Spice Oreos and the silicone pumpkin ice cube trays were purchased at Walmart. The Wilton’s Pumpkin Spice candy melt is from Michael’s.
You could just go the easy route and make traditional round truffles, but I thought pumpkins would be cute. I dusted the silicone trays with some powdered sugar to keep the dough from sticking. I pressed the dough into the pumpkin cavities by hand, making sure it was pressed down firmly. Then I popped them into the freezer overnight. The pumpkins came out pretty easy from the molds. What gave me the most problems was the Pumpkin Spice candy melt. I don’t know if I got a bad batch or I had water in my container, but the candy wouldn’t melt. I tried adding vegetable shortnening and that didn’t work. So then I pulled out my Babycakes chocolatier to melt it and added some orange candy melt I had to the batch. Finally, that worked and the candy melt still had plenty of pumpkin spice flavor and came out a brighter shade of orange. So all worked out well.

For the stems, I just melted a few bits of chocolate chips in the microwave and painted the chocolate on with one of my cake decorating paint brushes. You could also use a regular clean paint brush. You could also paint on some vines and leaves with some green candy melt like I did for my Maple Pumpkin Rice Krispie Treats. Either way they taste awesome.

I just love a crunchy outer shell with a creamy, flavorful center. The pumpkin spice in the Oreos and in the candy melt worked really well together. And I think the little pumpkins came out cute. The kids sure did like them.
Pumpkin Spice Oreo Truffles
by The Sweet Chick
Prep Time: 1.5hs w/freezer time
Keywords: no bake dessert snack pumpkin spice oreos cream cheese candy melt Halloween truffles American fall
Ingredients (20 truffles)
For the truffles
- 12 Pumpkin Spice Oreos
- 4 oz. cream cheese, softened
For the coating
- 1/2 package (5 oz.) Wilton’s Pumpkin Spice candy melts
- 1/2 package (5 oz.) Wilton’s candy melts, orange
- 8-10 Ghirardelli milk chocolate chips
Instructions
For the truffles
Crush Oreo cookies in a food processor until they are a dirt like consistency.
In a medium bowl, mix the crushed Oreos and cream cheese until completely combined.
Lightly dust your silicone molds with powdered sugar or flour, removing any excess.
Add a small amount of Oreo dough to each cavity pressing down with your fingers until cavity is full.
Place the molds in the freezer for at least 1 hour to set. (I left mine overnight.)
For the coating
Combine and melt all the candy melt according to the instructions on the package. You may wish to place the melted candy into a warmer like the Babycakes Chocolatier to keep it from hardening up on you.
Once the candy melt is ready, remove one tray at a time from the freezer and pop out the pumpkin truffles.
With a fork or candy dipping tool, dip the truffles one at a time into candy coating mixture until all covered.
Once covered, remove and softly tap until excess candy melt falls off. Then place the truffles on wax paper until the candy melt hardens. You can place the truffles in the fridge to quicken the process.
Once the candy melt is set, you can paint on the stems. Simply place the chocolate chips in a microwave safe container and microwave for 20-30 seconds.
Using a clean paintbrush, paint the melted chocolate onto the stems of the pumpkin truffles and let it set.
Keep truffles refrigerated until ready to serve.
Notes
It is best to have the dough as frozen as possible when dipping, so that it doesn’t come apart.
If your candy melt does not melt smoothly, you can add 1/2 teaspoon of vegetable shortening at a time to it until it becomes the right consistency for dipping.
If the bottoms of the truffles don’t get fully covered with candy melt, you can always dip them again.
These truffles can be made ahead of time and refrigerated for 3-4 days.
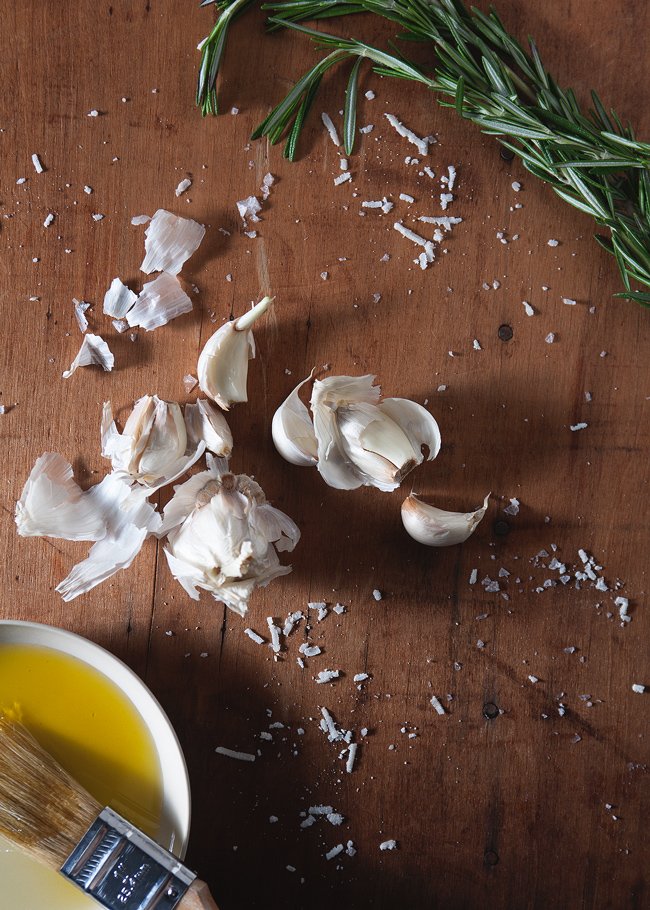
Spelt Focaccia With Rosemary, Garlic, And Pecorino

I made buttermilk pancakes the other day and substituted a little of the all-purpose flour for spelt. They were so good! It made me realize that it’s been a long time since I baked with whole grain flours (hard to believe that it had been my sole obsession three years ago). Also, yikes, I just realized the last recipe featured on this blog containing a flour other than all-purpose was way back in November! They’re really good cookies by the way.
I decided to remedy this immediately. As usual, I pulled out my battered copy of Good to the Grain. The recipes coupled with the photography always fill me with this longing to lead a more wholesome life, with no greasy take-out food, no indoor pants, and fresh air coursing through the rooms at all times. Let’s address why these are impossibilities.
First, there’s no way I could do away with my comfort food burritos, which are filled to the brim with rice, beans, meat (MEAT), and other stuff that’s good for the soul but not so much for the waistline (it feels weird writing about waistlines, as I don’t think I’ve ever given mine any proper thought). Secondly, I hate wearing jeans, which is something about me you would never guess because I ALWAYS WEAR JEANS. But it’s true. I’d much rather have my legs be swathed in loose, silky, comfortable pants when there’s no one to impress.
And finally, it’s still 40 degrees out, yo! Despite the fact that both Chris and I think of our heating as the devil because it makes the apartment unbearably stuffy, it only turns on twice a day, so to open the windows would be wasting the heated air.
I think the point I’m trying to make is that the healthful life I dream about is probably largely illusory. Though I enjoy baking with whole grain flours, and eating vegetables with all my meals (well, not breakfast—I do give myself a break then), and going to the gym thrice weekly, I’m not perfect.
Anyway, the focaccia called to me.
Spelt foccacia is less springy than regular foccacia, of that I’m sure. Since spelt contains low amounts of gluten, doughs containing it don’t rise as well and result in a lack of the same effervescence as all-purpose doughs. Hence, a slightly denser texture and less sticky.
On the other hand, spelt has a great flavor that I think came through in this recipe. It was kind of hard to tell, with such strong-flavored toppings all competing for attention, but I detected a wheat-flour like taste, with that signature nuttiness I really love.
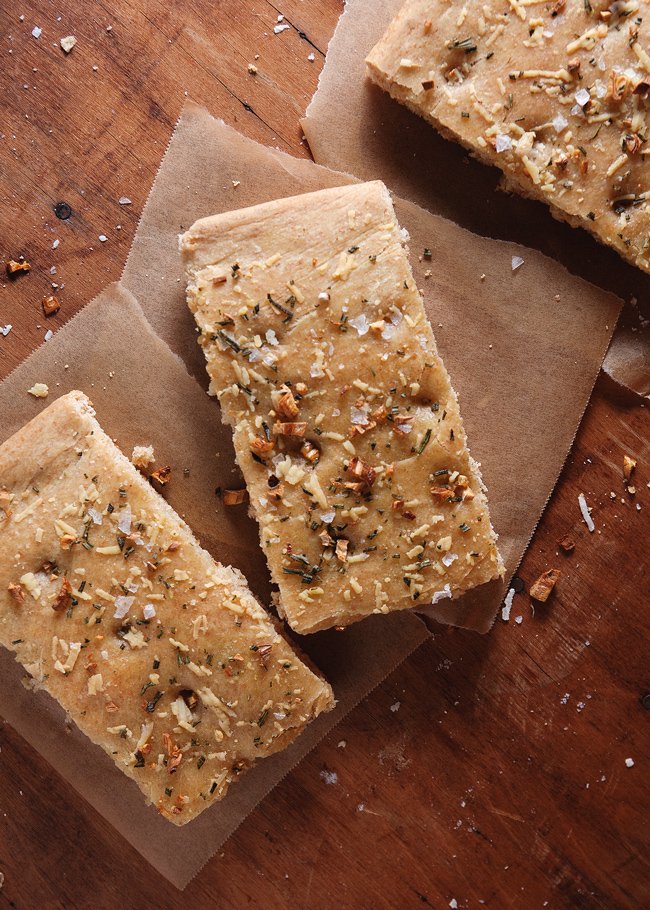
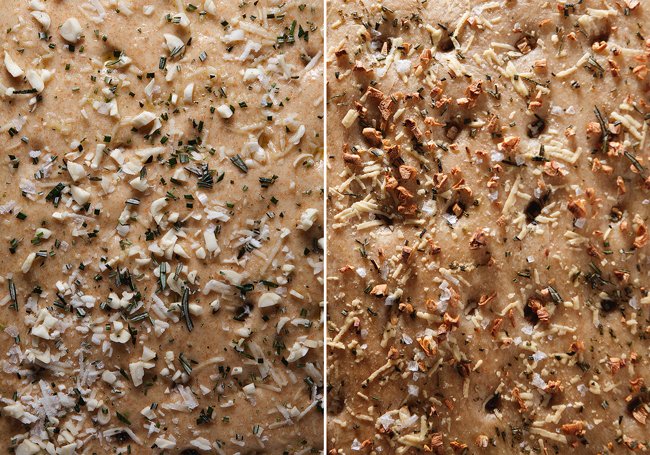
What disappointed me the most about this recipe was probably due to the overall crappiness of my oven, but my focaccia refused to golden-brown properly! Very disappointing, especially because, I’d kept it in there for so long that the garlic and rosemary started burning. It’s alright. I don’t think the taste suffered too much, but it made for a slightly less attractive presentation.
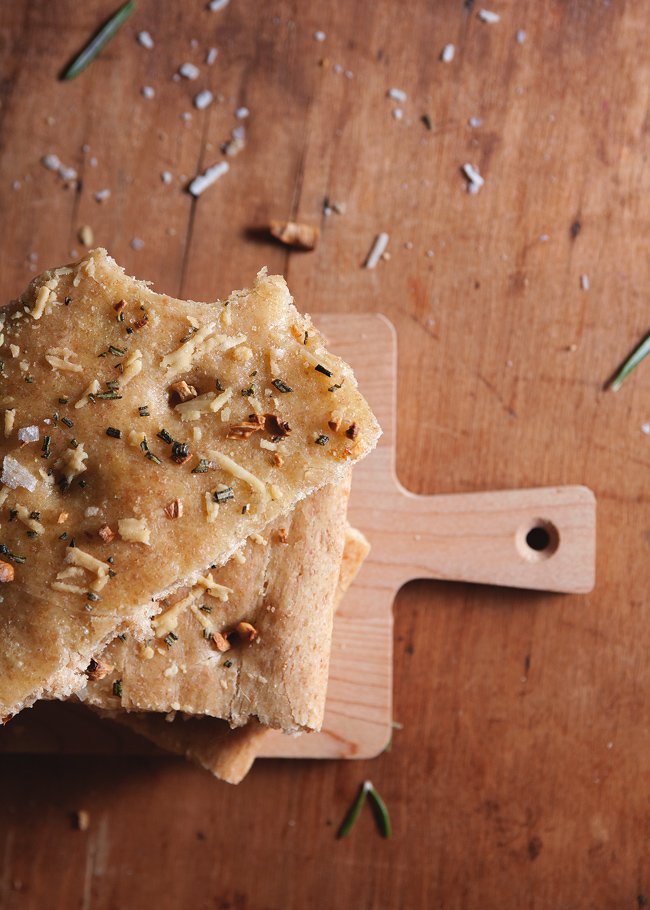
I don’t need to tell you what to do with focaccia. Neither do I need to tell you how to top it. But, I will add, rosemary is one of my favorite herbs, and it really suits breads, spelt, and garlic and pecorino. With that said, a simple sea salt topping would be enough to make me a happy sailor, and I would gladly eat this focaccia in any form it was offered. In my case, it went perfectly alongside leftover soup (third batch and still going strong), always a winning combination.
(I should also add, I accidentally bought 2 pounds of active dry yeast, so I think I’m going to take up bread-making as a hobby for the foreseeable future. Focaccia is only the beginning, my friends!)
SPELT FOCACCIA WITH ROSEMARY, GARLIC, AND PECORINO
Adapted from Good to the Grain
Makes 1 rectangular focaccia
Ingredients:
1 package active dry yeast (2-1/4 tsp)
Pinch of sugar
1 cup spelt flour
2 cups all-purpose flour, plus more for kneading
1 T kosher salt
1/4 cup plus 2 T olive oil (plus more for greasing)
garlic, herbs, spices, coarse salt, cheese, and any other toppings of choice
Directions:
Lightly rub a large bowl with olive oil. Add 1-1/4 cups of warm water, yeast, and sugar to another large bowl. Stir, and allow the yeast to bloom for about 5 minutes (should start bubbling). Add the flours, salt, and 2 T olive oil and stir to combine. Pour the dough onto a lightly floured surface and begin kneading, adding up to 1/2 cup of all-purpose flour if needed (depending on the manageability of the dough, as it’s quite sticky). Knead for about 10 minutes until the dough is elastic and supple (you’ll start to feel the difference—just keep kneading!)
Put the dough in the oiled bowl, turning it so it’s lightly covered with the olive oil. Cover with a towel and let rise for about 2 hours, or until doubled in size.
Generously oil a baking sheet with olive oil. Place the risen dough onto the baking sheet and stretch it so it fills the pan. Dimple it with your thumb, then cover with a towel and let rise for about an hour.
Preheat your oven to 400 degrees F. Now it’s time to top the dough. First, brush a 1/4 cup of olive oil onto the dough, then sprinkle with the toppings of your choice. Bake for 22 to 25 minutes until golden brown. Allow the bread to cool slightly before slicing and serving.
As a note, you can store the dough in the fridge after the first rise. Just cover it tightly with plastic wrap and make sure to let it come to room temperature before continuing on with the recipe.