Candy Coated Oreo M&M;’s
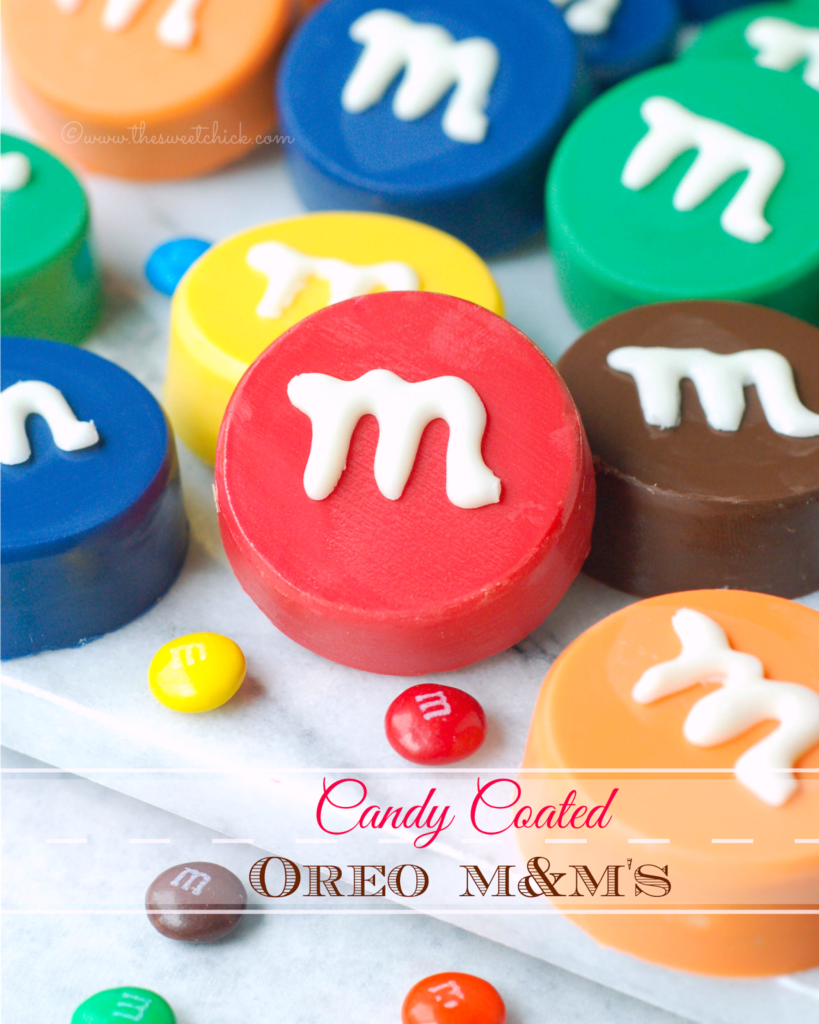
Summer is coming to a close. Kids are going back to school in two weeks. Yay! I love my kids, but I need a break. The past couple of weeks have been busy. We drove up north for a week to see family and friends. It’s was nice to see everyone, but man, that drive is killer. Then last week I was occupied with making treats and decorations for my son’s birthday. He loves M&M’s, so I scoured Pinterest for ideas on doing an m&m party. I found a few things, but these Candy Coated Oreo M&M’s were my idea. I’ve been wanting to make them for a while, so I thought this was the perfect opportunity. They came out pretty cute.
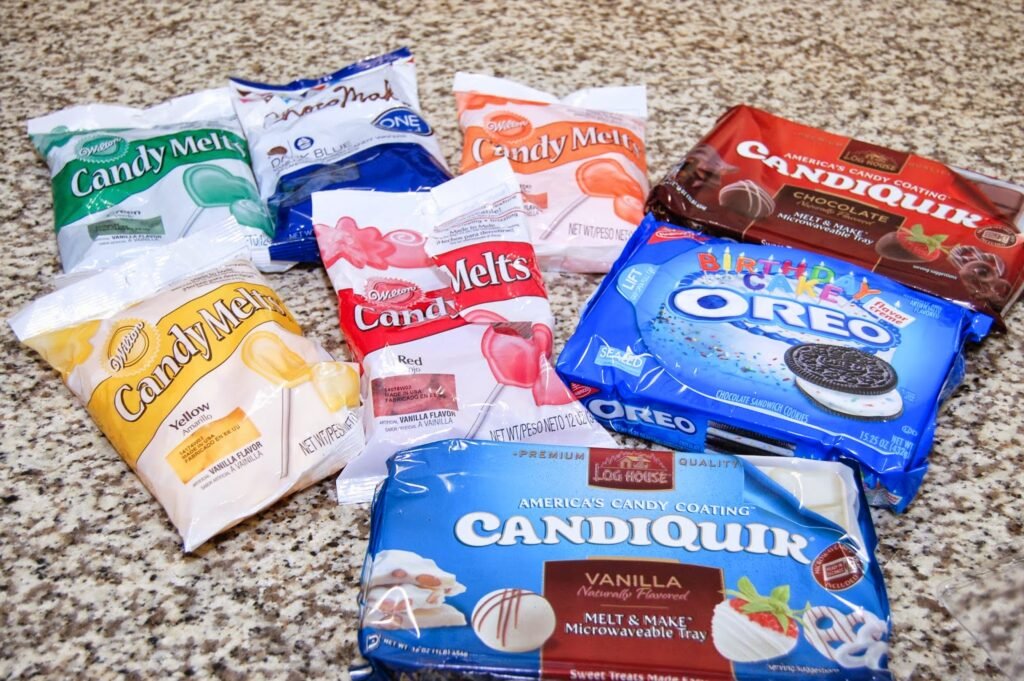
I was able to find all the color candy coating I needed at Walmart. They carry the Wilton, Chocomaker, and Candiquik brands. I used Birthday Cake Oreos for the center, but you can use regular Oreos. If you choose to do Double Stuf Oreos, you will need a different mold.
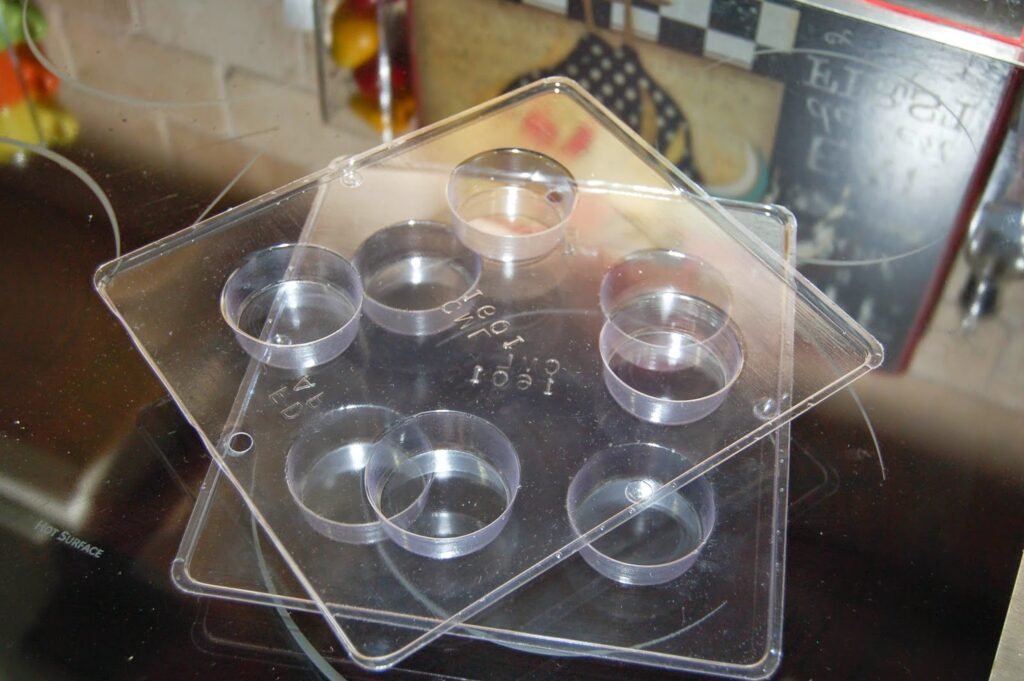
I bought these candy molds at a small culinary shop while I was up north, but they also sell similar ones on Amazon. They are made for candy coating Oreo shaped cookies. I bought four sets of molds so by the time I finished the last cookies, the first ones were ready to pop out and I could continue using the mold.
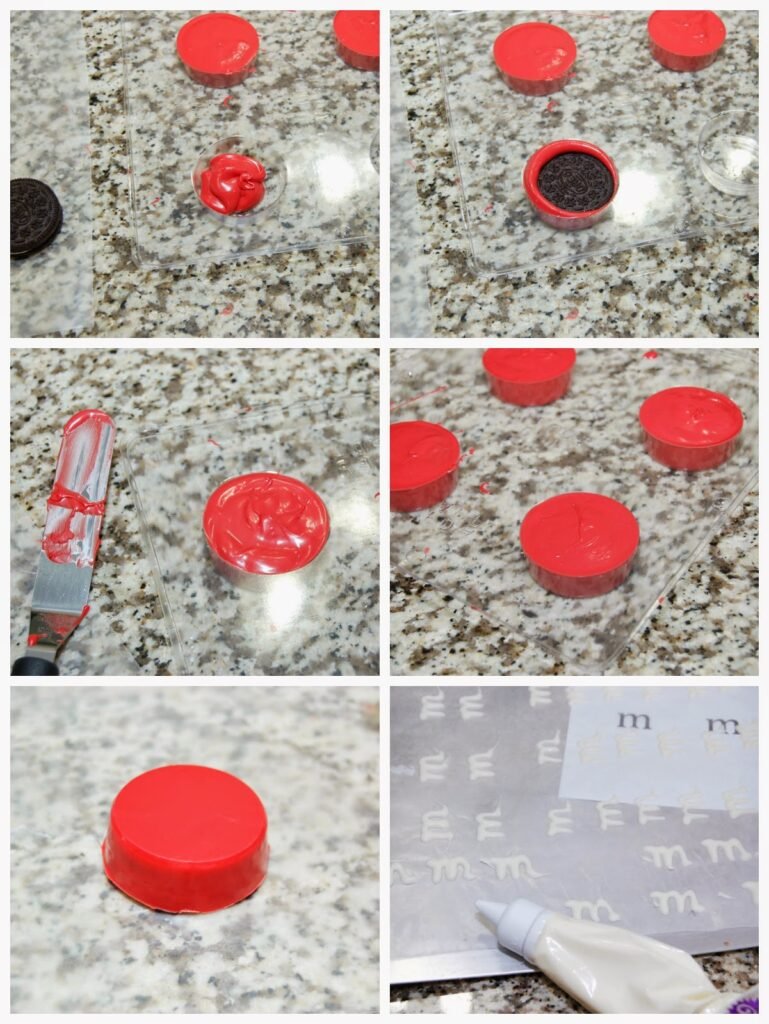
This was my first time trying this. It was a learn as you go process. I poured about a tablespoon or so of candy melt into the mold, then pressed an Oreo cookie into the middle and twirled it around to cover the sides. Then I added candy melt to the top and flattened it out with a spatula. By the second tray I had figured out not to overfill the cavities. You have to tap the mold a few times against the counter to get the air pockets out and that also levels out the candy melt. I placed them in the fridge to harden quickly. You have to work a little to loosen the hardened candy from the mold, but it didn’t take too long.
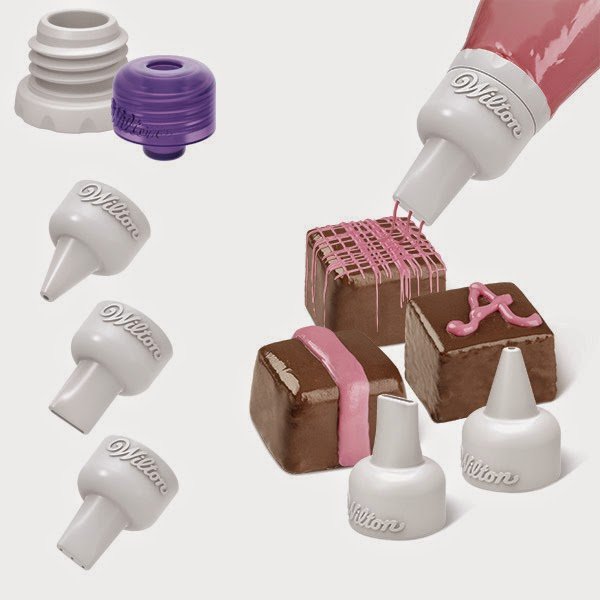
For the “M’s”, I bought the Wilton Candy Melts Decorating Tip Set at Walmart. The writing tip worked perfect. I printed some “M’s” on my computer and placed the printer paper under a piece of wax paper and traced them the best I could. You could write directly on the candy coated M&M’s, but I was too scared to mess them up. When the candy “M’s” had hardened, I attached them to the Oreos with a few dabs of candy coating.

I made these as treats for the party, but they make great party favors also. You can place them in little bags or boxes and make some cute tags to attach to them. All the party guests loved them.
Candy Coated Oreo M&M’s
by The Sweet Chick
Prep Time: 1-1.5 hours
Cook Time: 10-12 minutes
Keywords: microwave dessert snack candy melt birthday cake oreos birthday cookie candy American
Ingredients (48 treats)
For the cookies
- 2 Packages (15.25 oz. each) Birthday Cake Oreos
- 1 package (12 oz.) Wilton’s Candy Melt, green
- 1 package (12 oz.) Wilton’s Candy Melt, red
- 1 package (12 oz.) Wilton’s Candy Melt, yellow
- 1 package (12 oz.) Wilton’s Candy Melt, orange
- 1 package (16 oz.) Chocomaker candy wafers, dark blue
- 1 package (16 oz.) Candiquik candy coating, chocolate
For the “M’s”
- 1 package (16 oz.) Candiquik candy coating, vanilla
Additional items needed
- 2-4 candy molds for plain cookies
- Wilton’s Candy Melt Decorating Tips
- 1 box (12) Wilton’s Disposable Candy Decorating Bags.
Instructions
For the cookies
Using one color at a time, melt candy coating according to instructions on the back of the package. (Usually it’s 30 seconds at a time in the microwave.) I melted a 1 cup at a time. You can always add more if needed. You will not use the entire bag of candy melt. Make sure you candy melt is warm, but not hot before pouring into the mold.
Pour about 1- 1 1/2 tablespoons of candy melt into each cavity of the mold. ( I worked with one mold of 4 at a time). Place one Oreo cookie in the center of each cavity on top of the candy coating. Gently press the cookie down and spin is slowly to coat the sides.
Add a bit more of candy coating on top of the Oreo, careful not to overfill. Spread the candy melt out with a spatula. Then gently tap the mold a few times on a hard surface to release any air bubbles.
Place finished mold(s) in the fridge for 5-10 minutes to speed up the hardening of the candy melt. I continued the same process with another color while the first color was setting. I used 2 molds per color, so it worked out great.
When the candy coating has hardened, remove from fridge and gently wiggle the mold to release the cookie. The flat surface will be the top of the “M&M”.
For the “M’s”
Once all the colors are done, it’s time for the “M’s”. If you are confident about your writing skills, you can write directly on the candy coated cookies. I wasn’t, so I made a template on my computer and printed it out. I placed the template under a piece of wax paper to write my “M’s”. My “M’s” were about an inch tall.
Melt the vanilla candy coating according to the package instructions and pour into a disposable candy decorating bag with writing tip attached.
Trace the “M’s” onto the wax paper over your template. Practice makes perfect.
I placed my template and wax paper on a cookie tray so I could pop it in the fridge for a quick set. I also used a sharp knife to cut off any “tails” that occurred due to run-off candy coating.
Once the “M’s” have set, carefully remove from the wax paper, add a couple of dabs of vanilla candy coating to the backs and place them on your candy coated cookies. Let dry and you are done!
9 Boozy St. Paddy’s Day Treats
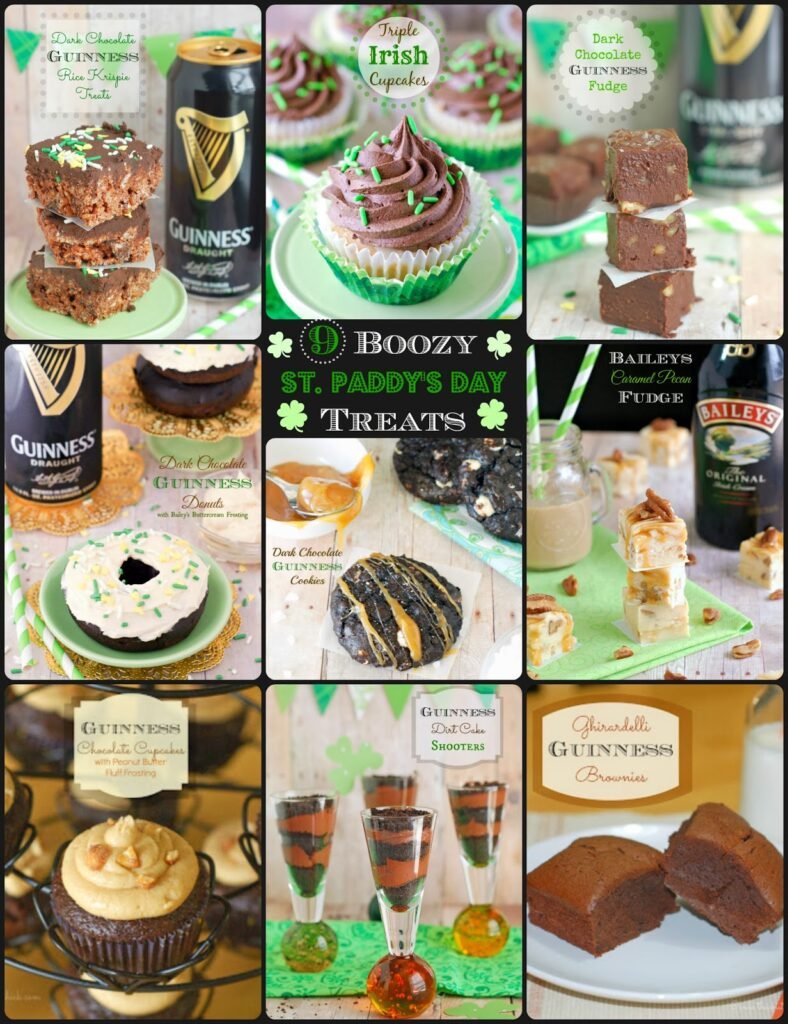
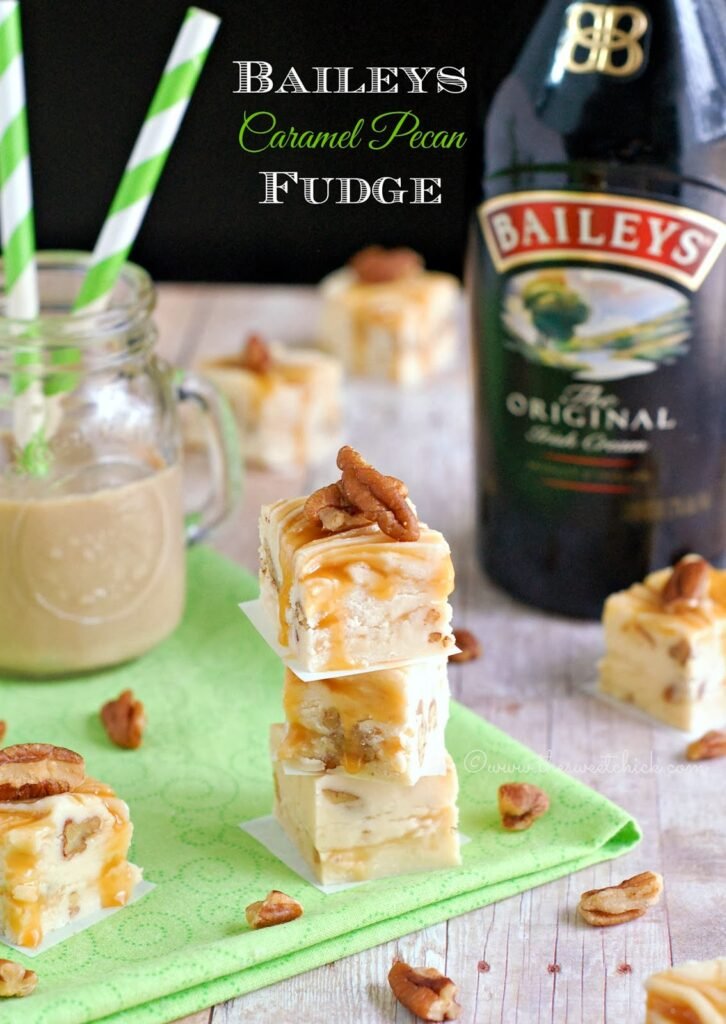
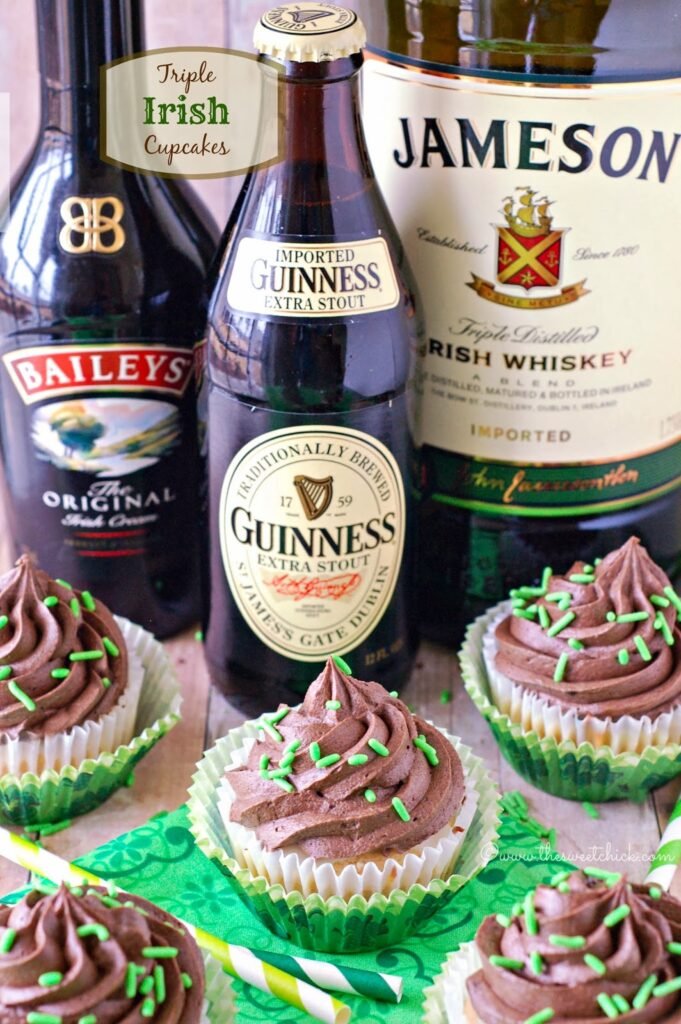
Looking for some St. Patrick’s Day treats with a little bit of spunk? Well, you’ve come to the right place. I love enhancing my treats with a little bit of beer or liquor now and then. St. Patrick’s Day give me an excuse to do just that. Guinness and dark chocolate was my favorite combo until I tried Baileys with white chocolate. Oh it’s heaven. Even if you don’t drink Guinness beer or Bailey’s Irish Cream you made just like it in your sweets. The ingredients all blend well together creating a smooth overall flavor. Everyone is a little bit Irish on St. Patrick’s Day.
I’ve rounded up some of my boozy treats from the past couple of years. I did a lot of Guinness recipes in the past, but this year I ventured out into trying Baileys and even a bit of Jameson Whiskey. Just click on the links below for the recipes. Bake responsibly, these are for adults, not kids. Enjoy!
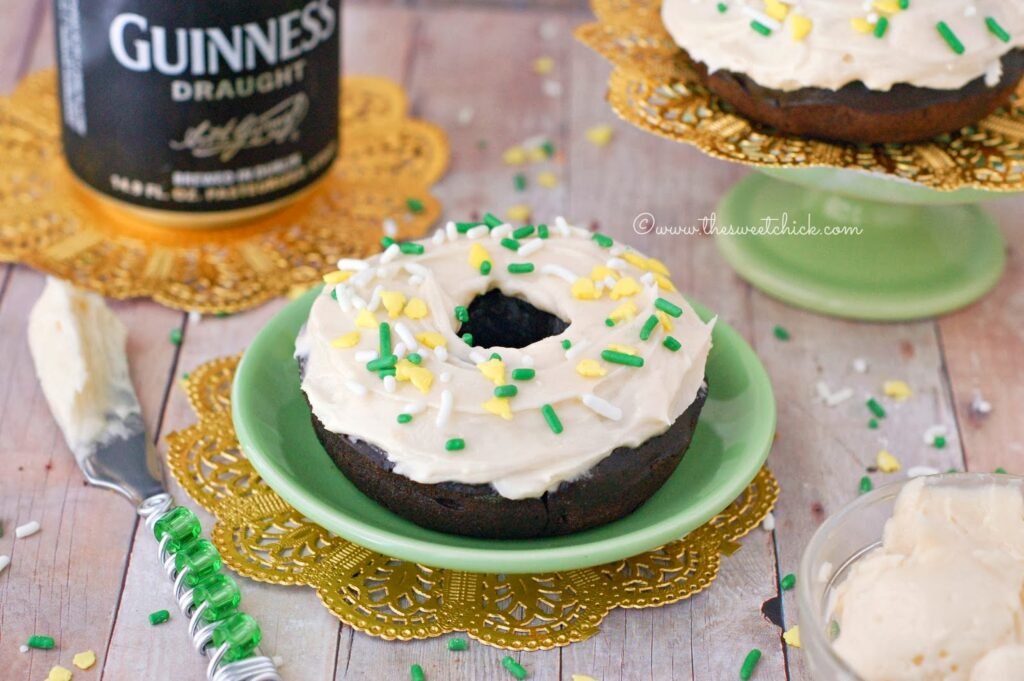
Dark Chocolate Guinness Donuts with Baileys Buttercream frosting
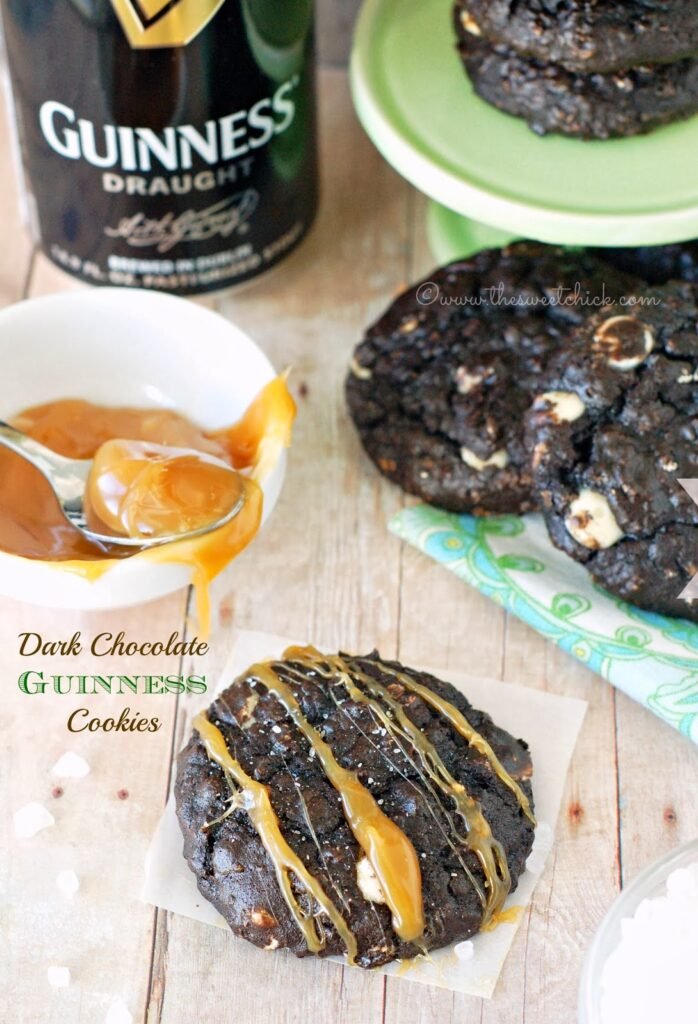
Dark Chocolate Guinness Cookies

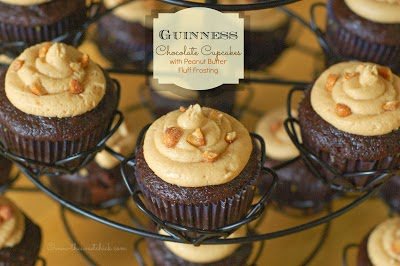
Guinness Chocolate Cupcakes with Peanut Butter Fluff Frosting
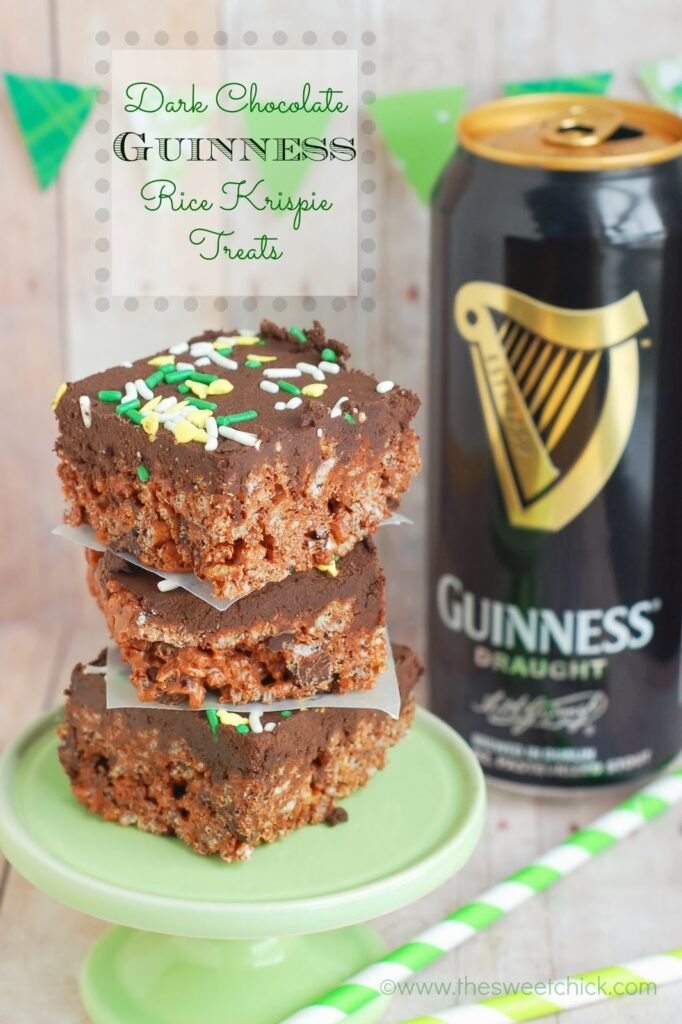
Dark Chocolate Guinness Rice Krispie Treats
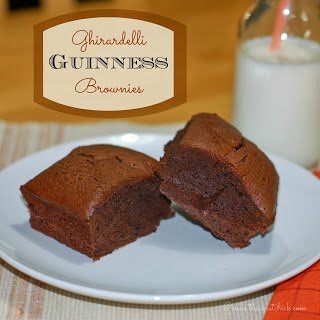
What are your plans for St. Patrick’s Day this year? Do you have any special treats that you bake for the occasion?
