Dora Cupcakes

I made these 2 years ago when my daughter was into Dora the Explorer. The recipe is from Nick Jr.com. It really easy and fun to do with kids. Gosh, she looks so little. My how time flies!

Dora Cupcakes
You will need:
1 1/2 cups dark-chocolate melting wafers
1 can (16 oz.) prepared vanilla frosting
Brown and red paste food coloring
24 semi-sweet chocolate chips
1 roll (3/4 oz.) strawberry or cherry fruit leather (such as Fruit by the Foot®)
1/2 cup dark-chocolate frosting
Resealable plastic bags
Dora Cupcake Template (see below or go to )
Directions:
Line two cookie sheets with wax paper and place the Dora Cupcake template under the wax paper.
Melt the chocolate wafers in a medium glass bowl in the microwave until smooth, about one to two minutes, stirring frequently. Spoon the melted chocolate into a resealable plastic bag. Snip a small corner from the bag, pipe the outline of Dora’s hair, and fill in with the chocolate. Repeat to make 12. Place the cookie sheets in the refrigerator for about 5 minutes or until the chocolate has set.
Spoon 1/3 cup of vanilla frosting into a resealable bag. Use the paste food coloring to tint the remaining frosting a light reddish brown. Remove two tablespoons of frosting and tint it a darker brown; spoon this into a resealable bag.
Frost the tops of the cupcakes with reddish-brown frosting. Peel Dora’s hair from the wax paper and arrange on top of each cupcake.
Snip a small corner from all the bags of frosting. Pipe white eyes and light-brown centers freehand. Press a chocolate chip into the eyes, flat side up, as her pupils. Pipe a white dot on top of each chip.
Cut a 1-inch triangle from the fruit leather for Dora’s mouth. Outline her nose, mouth, and hair with the dark chocolate frosting.
Refrigerate until ready to serve. Makes about 12 cupcakes.
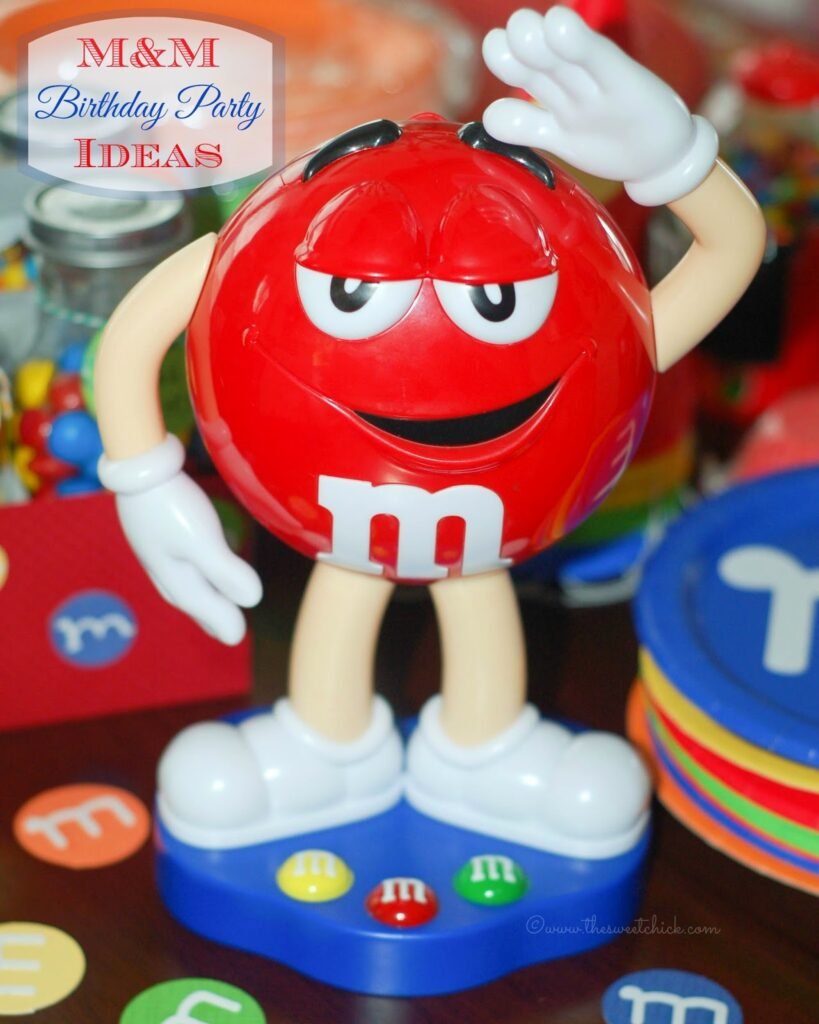
M&M; Birthday Party

I put together my son’s 4th birthday party last week. He’s into a lot of things, but nothing in particular stood out as a theme. That is until someone posted a photo of an M&M wedding cake on Facebook. I had my inspiration. My son loves M&M’s in all different varieties. He devours whatever flavored M&M’s I buy to make recipes with. He’s not picky when it comes to his favorite candy. So I researched Pinterest for DIY party decor and kept my eyes open when I was out shopping. I tried to keep it simple because it wasn’t going to be a terribly big party, but I wanted it to be special for him.
I put together my son’s 4th birthday party last week. He’s into a lot of things, but nothing in particular stood out as a theme. That is until someone posted a photo of an M&M wedding cake on Facebook. I had my inspiration. My son loves M&M’s in all different varieties. He devours whatever flavored M&M’s I buy to make recipes with. He’s not picky when it comes to his favorite candy. So I researched Pinterest for DIY party decor and kept my eyes open when I was out shopping. I tried to keep it simple because it wasn’t going to be a terribly big party, but I wanted it to be special for him.

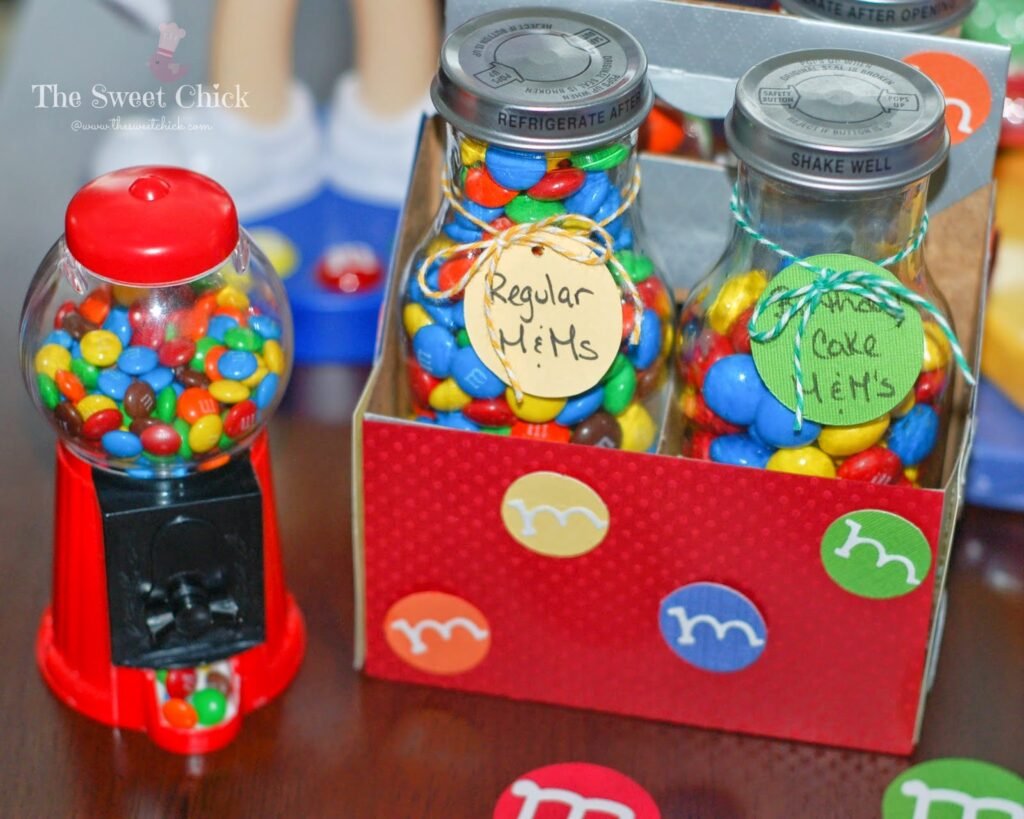
The first thing I had found was 10 inch red plastic M&M dispenser at CVS pharmacy. I used that as my centerpiece. It was too cute to pass up. Then I found a small 5 inch plastic bubble gum machine at Toys R Us that I used as a cake topper.
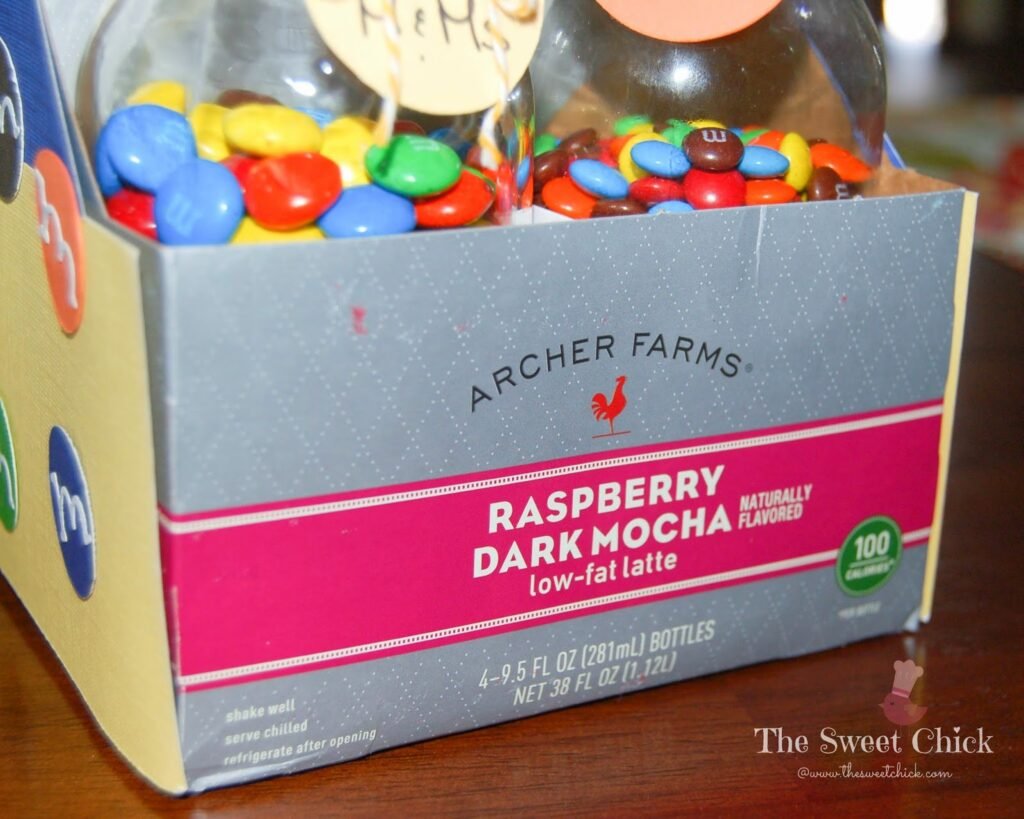
I wanted the party goers to have a selection of M&M’s to choose from, so I decorated a Archer Farms carton with some card stock I had on hand. I cut out some circles with my Fiskars ShapeCutter Template, then embellished it with little “m’s” I cut out with my Sizzix Sizzlets dies in the Bounce font (which apparently they don’t make anymore, my scrapbook tools are now antiques). I added some circle tags to label the M&M flavors.
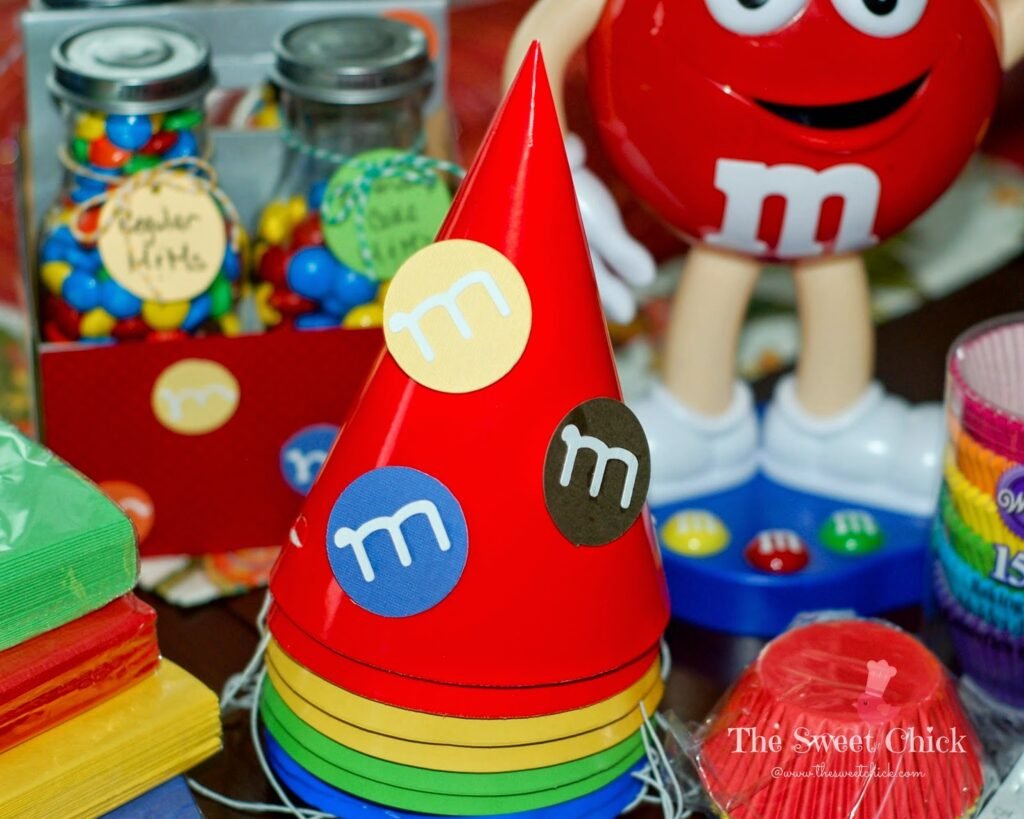
I found most of my other supplies at Walmart. I bought plates, napkins, and party hats in all the M&M colors (except brown). I jazzed up the plain party hats with some more cut outs. For these “m’s”, I used my Cricut machine with the Tear Drop cartridge. I was trying to use what I had on hand. If you want the official “M”, you can find it on the Cricut Plantin SchoolBook cartridge.
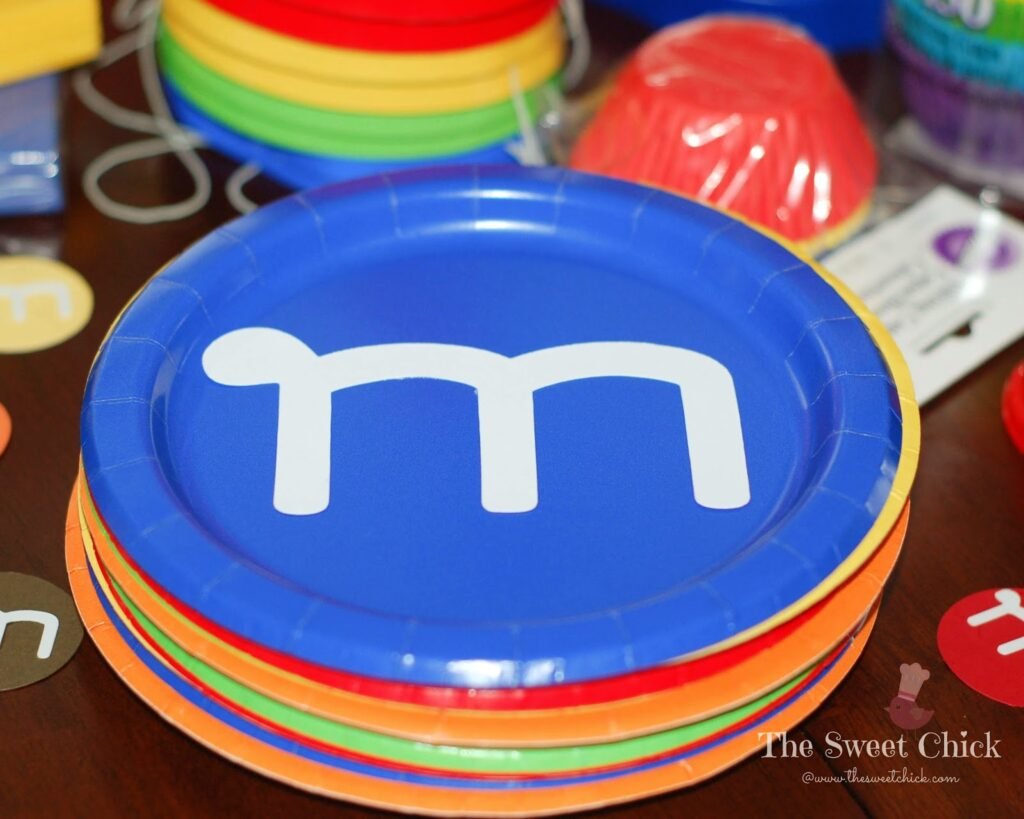
I used my Cricut machine to cut out these big “m’s” also. This was one of the ideas I found on Pinterest for wall decorations. I used double stick tape to keep them up.
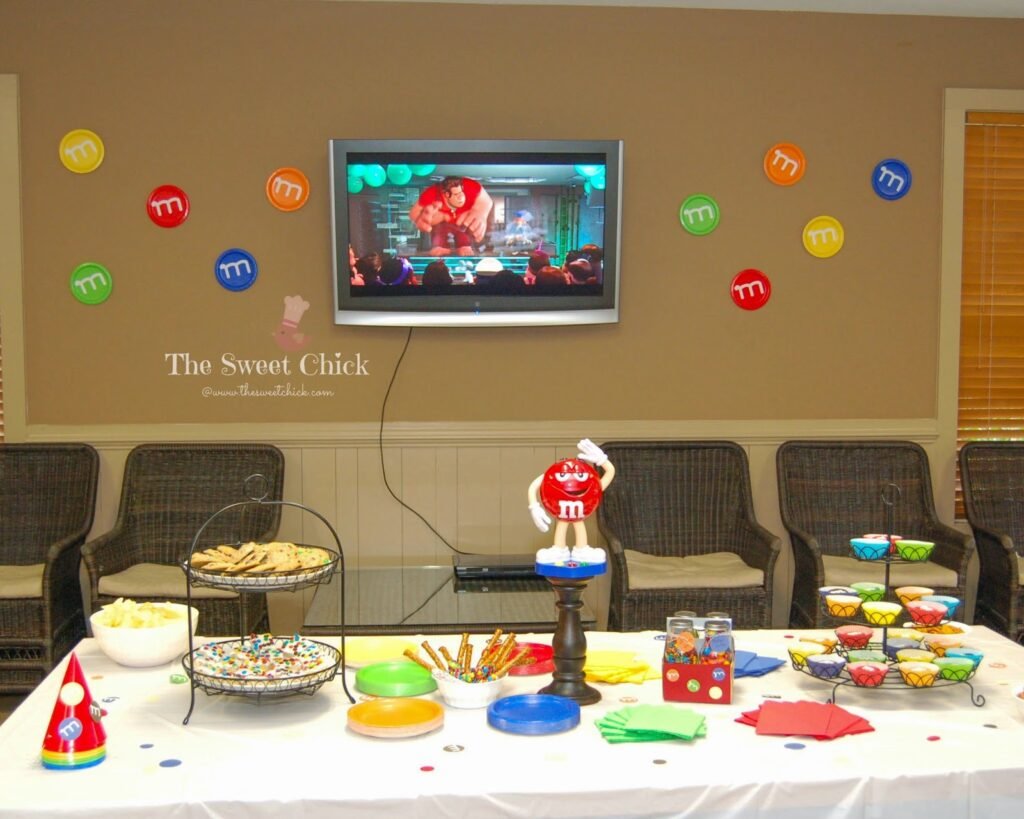
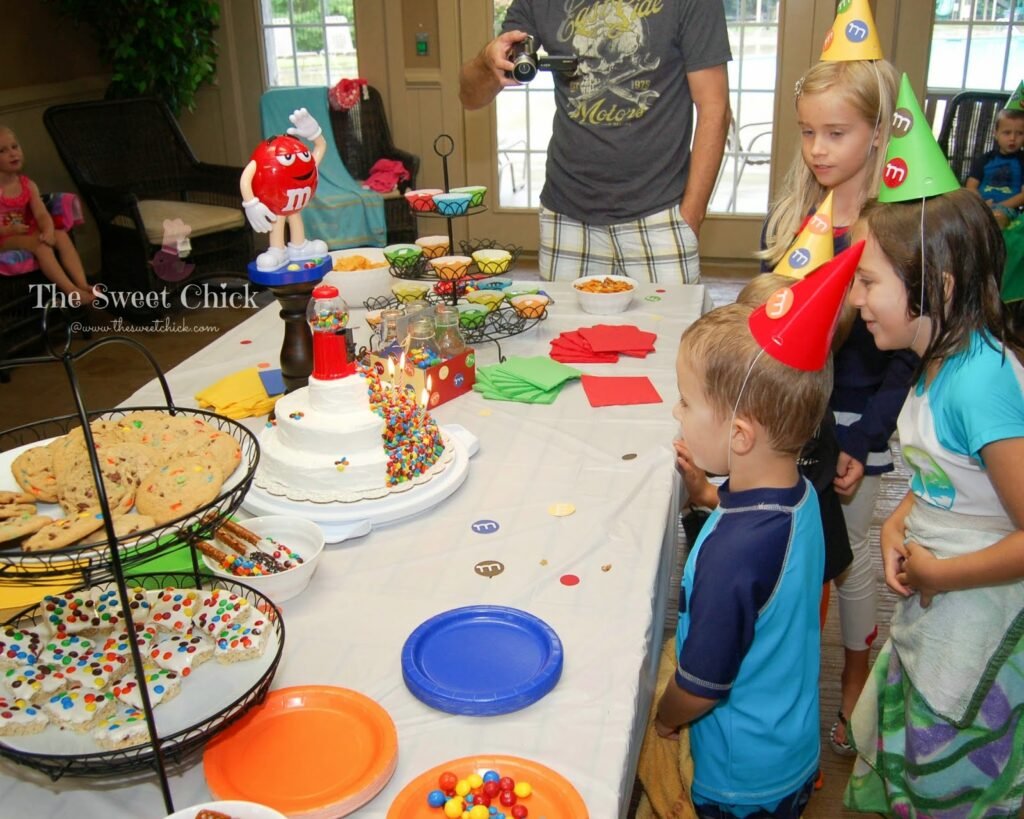
He’s the whole thing all together. Simple, but colorful and fun. It was raining outside, so we played some movies for the kids, but they didn’t care, they ended up going in the pool anyway.

I made all sorts of treats to go with the theme, Chocolate Chip M&M Cookies, M&M Rice Krispie Treats, M&M Pretzel Sticks, and more.
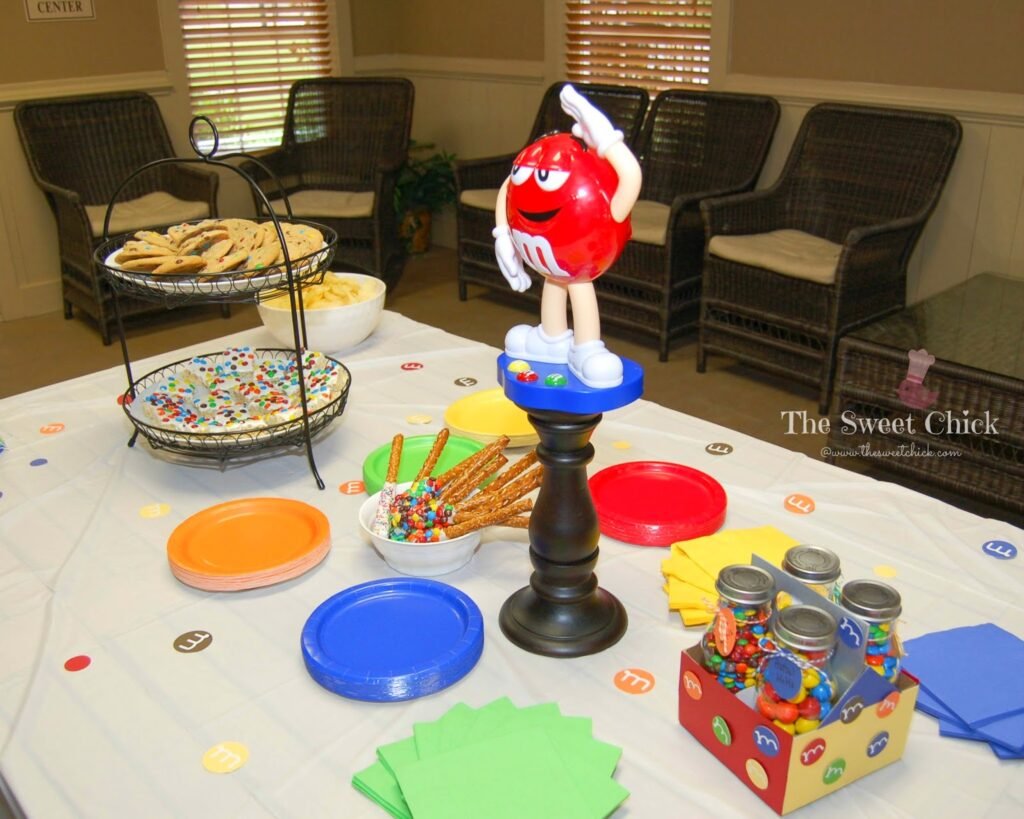
I use the extra “M’s” I cut out to decorate the table. I placed the M&M dispenser on a candlestick holder I had to make him more prominent.
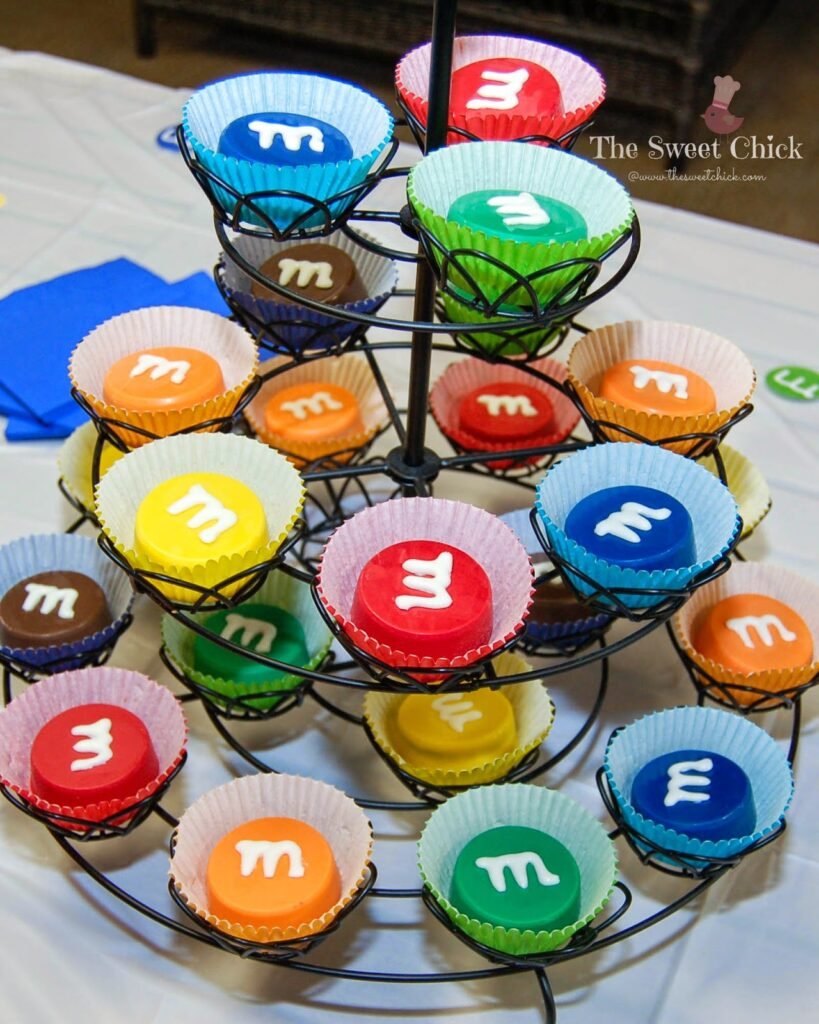
Here are the Candy Coated Oreo M&M’s I blogged about earlier this week. I placed each in matching cupcake liners from Wilton that I had found at Walmart.
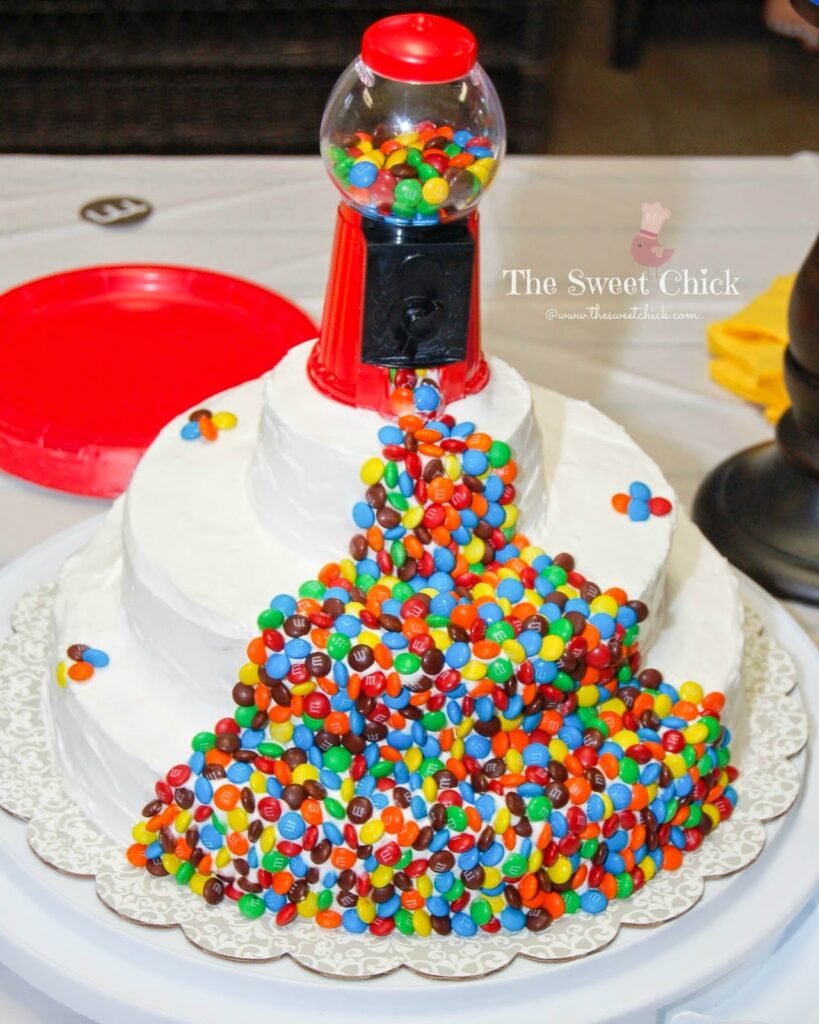
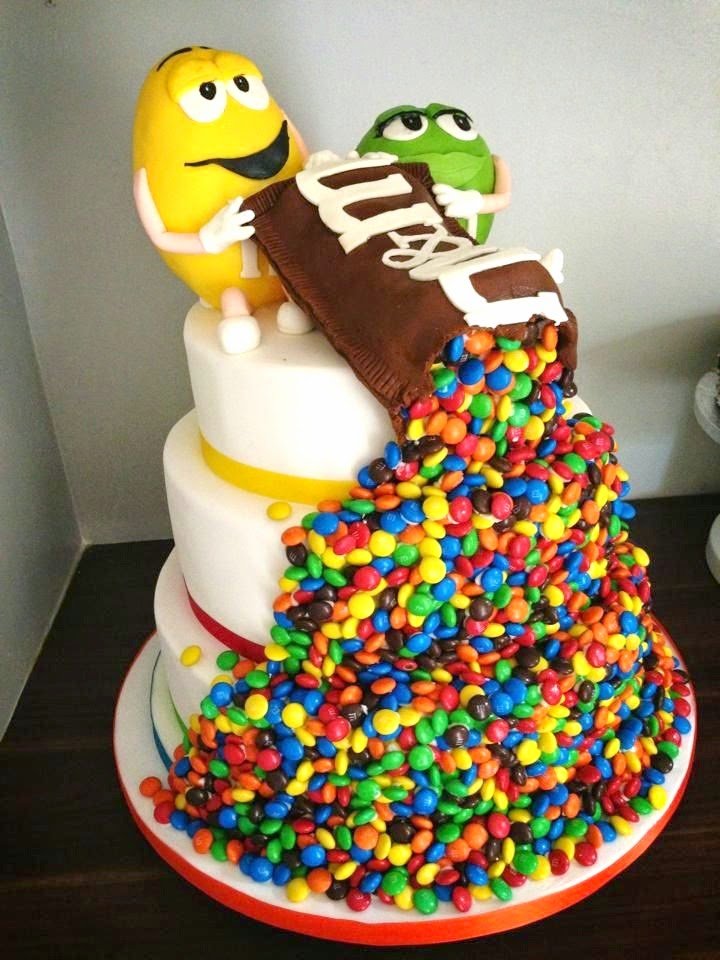
This is the cake I made, inspired by this one below. The kids thought it was amazing. Mission accomplished.
Here’s the birthday boy all smiles when he saw his cake. He was excited by all the mini M&M’s pouring down the front. All the kids wanted a slice with the M&M’s on it.

The cake was just two Pillsbury Funfetti cake mixes and two cans of Betty Crocker Fluffy White frosting. I knew I would be spending all my time perfecting the decorating, so I didn’t make the cake and frosting from scratch this time. Plus, I really love Funfetti cake. And if you are wondering if I place each M&M individually on the cake , the answer would be YES! My husband thought I was nuts. He said I should just throw them on there, but I am a type A personality and everything has to be perfect.
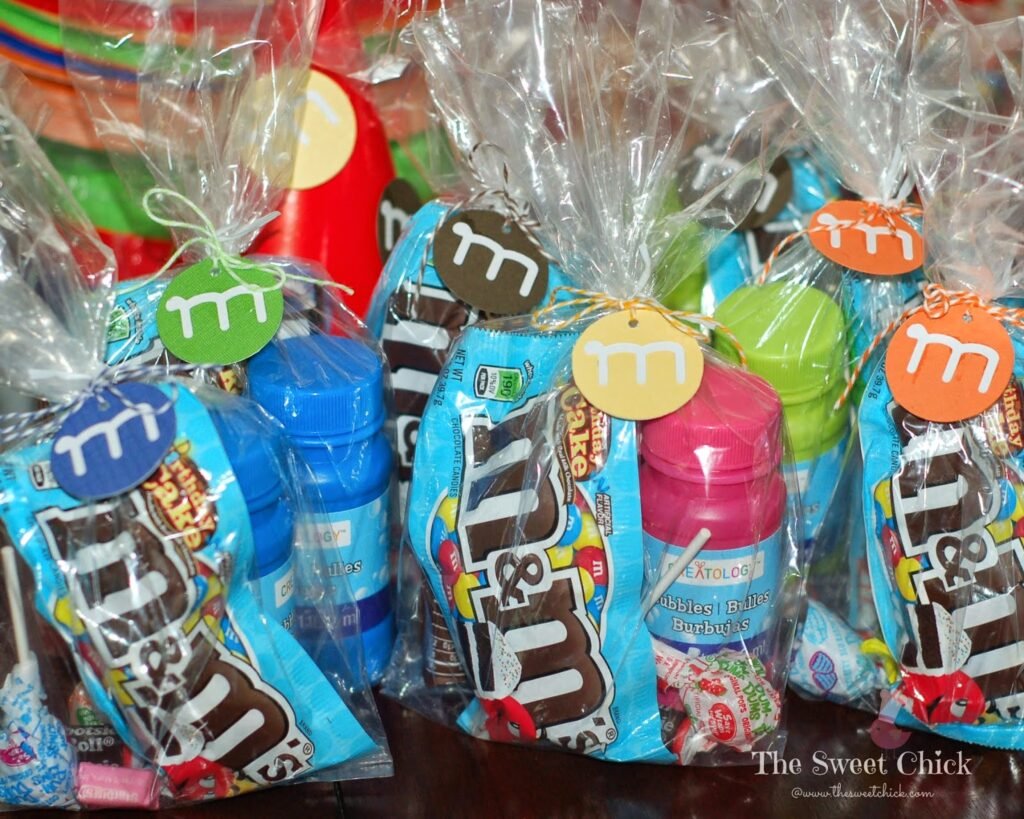
For the favor bags, I bought individual packs of Birthday Cake M&M’s and added some bubbles and other candies. The clear bags are from Walmart and the tags I made myself. I put all the kids names on the back. I attached the tags with matching bakers twine I had on hand.
It was a lot of work, but I like being creative. The looks on the kids faces said it all, it was worth it.