Behind the Scenes
I thought it would be fun to show you all how I go about taking my food photos for this blog. I am by no means an expert on photography, but I have learned some new things over the past year that have helped improve my overall images. I have been able to get my photos featured on Tastespotting, Foodgawker, and Tasty Kitchen. I am quite pleased with that accomplishment. It means my hard work is paying off.
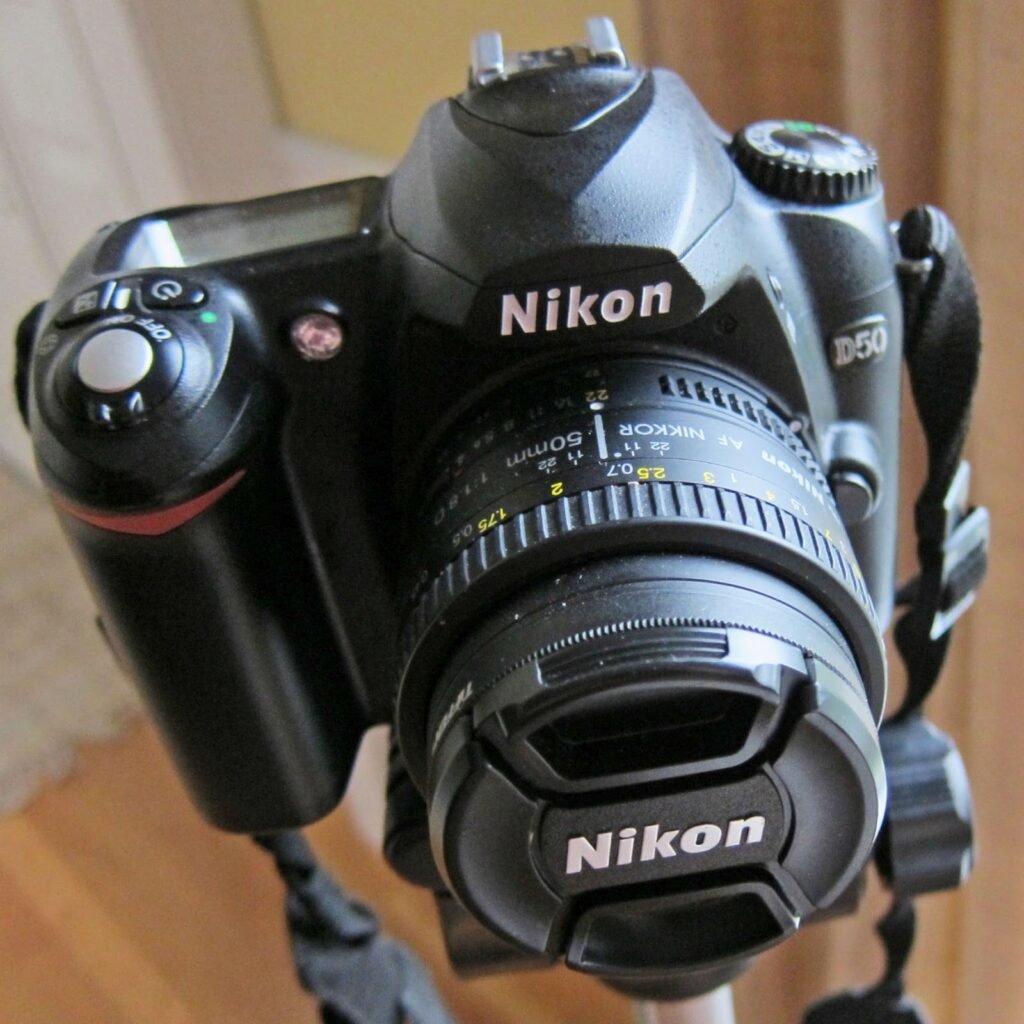
This is my camera, a Nikon d50. I bought it over six years ago before my daughter was born to take pictures of her. Now it has been re-purposed. This poor camera usually ends up with bits of food on it as I try to take pictures of my treats as I am in the process of making them. Thankfully it has been a good sport. It may be old, but it is still a good camera. I do not have a need to upgrade yet.
When I first started this blog I was mostly taking pictures at night when the kids were asleep, so I depended on my flash to brighten things up. I know, shame on me. I have since learned that flash is such a no-no when it comes to food photography. It just makes the food look unreal and unappetizing. Now I wait for the weekend to bake and take pictures during the day, so as to capture all the natural light I can get.
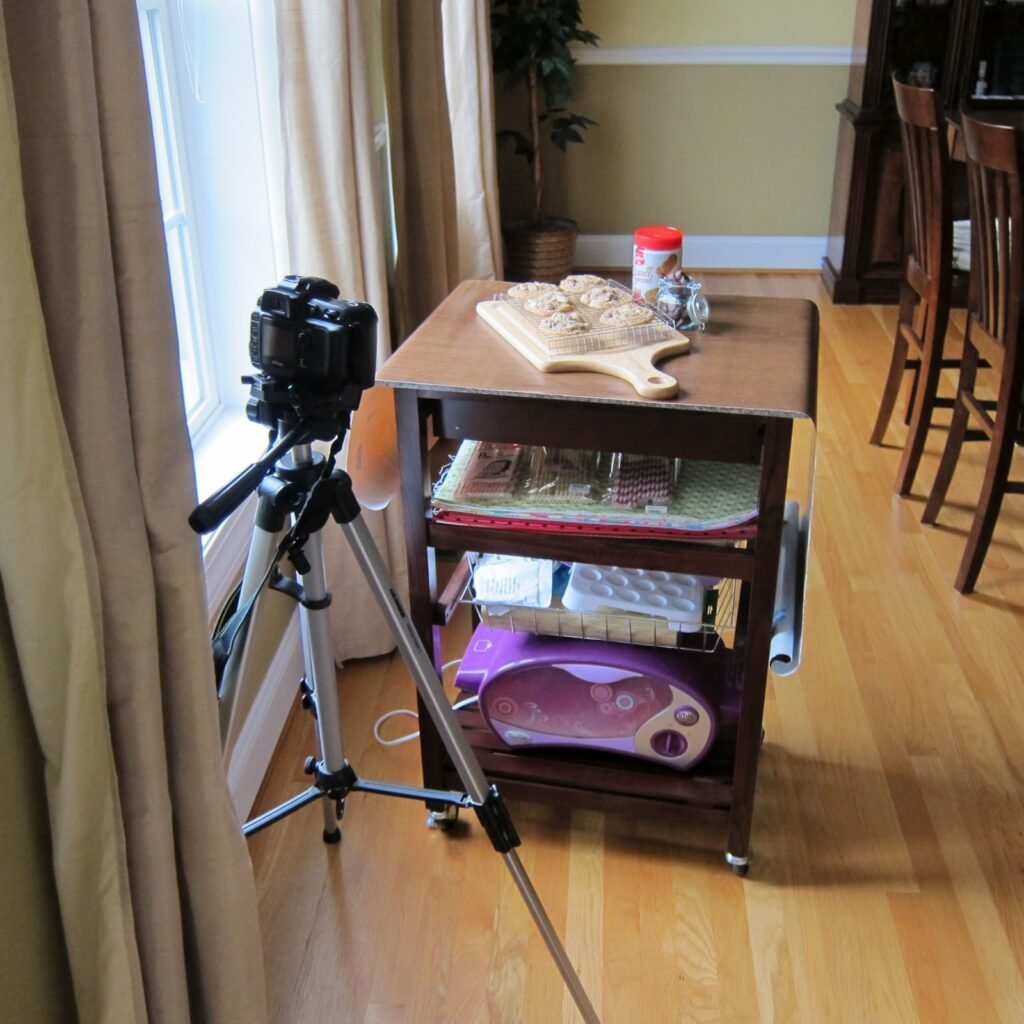
Since my kitchen is not very sunny, I take my pictures in the dining room. I have found that between 2pm and 3pm (Eastern Time Zone) I have the best lighting. Of course, some weekends we have plans and I have to make do with whatever light I can get. The less light, the closer I get to the window. Sometimes I use some white foam boards to bounce light off of. I just prop them up on some chairs next to my table. I don’t have any fancy light boxes. I really try to keep equipment down to a minimum. I don’t want to clutter my closets anymore than they already are.
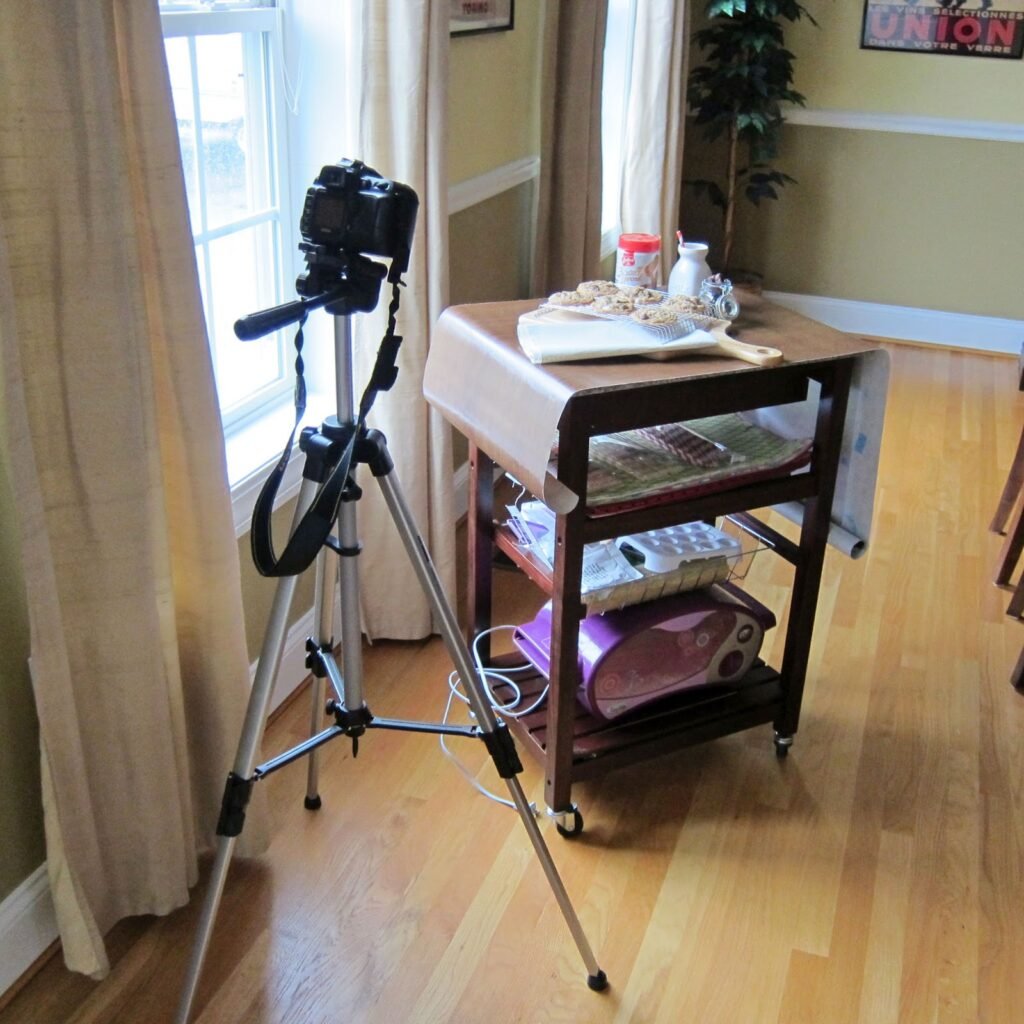
I bought this kitchen cart at Walmart to use as my “table” for taking my food photos as well as hold some of my props (and now my daughter’s Easy Bake Oven). It is just the right size and it is easily moveable. When not in use, it stays in the dining room as a furniture piece.
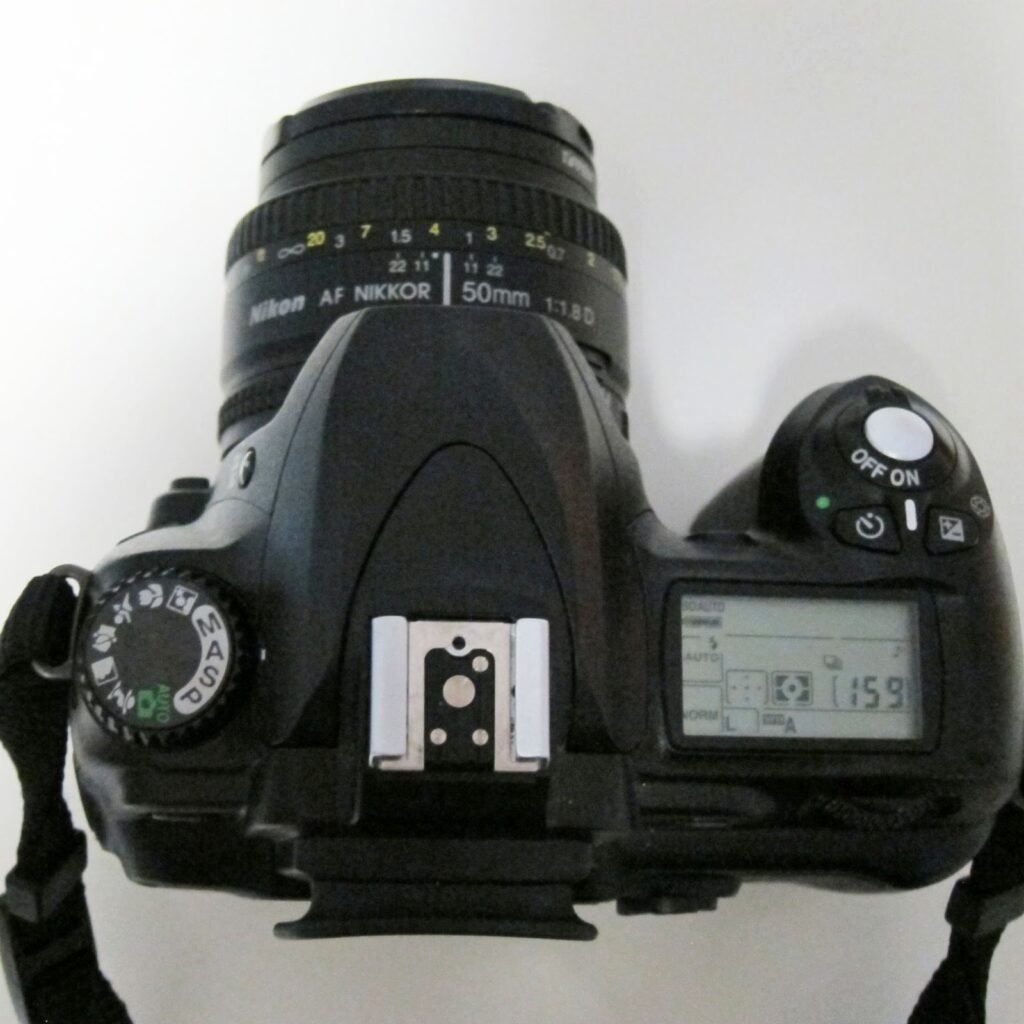
Even though I have had my camera for over six years, until this year, I have never taken it out of “auto” mode. After reading many tutorials online and actually downloading the manual for my camera onto my iPad, I have learned how to use natural light and set my camera properly to achieve better quality photos. I am still learning what all the buttons do. I should probably take a class, but with a full time job and two small kids, that isn’t convenient. Plus, I am stubborn by nature, so I like to learn my way.
What works best for me is a 50mm lens and the aperture priority auto(“A”) setting. It gives a nice blur to the background, while keeping the subject in focus. You do have to use a tripod to get crisp, clear photos. I bought mine around the same time I bought my camera. It was not expensive, but it does what I need it to. It holds my camera still and I can adjust the height. I like to keep it simple. I still have a lot of learning to do, but I am happy with my progress thus far.
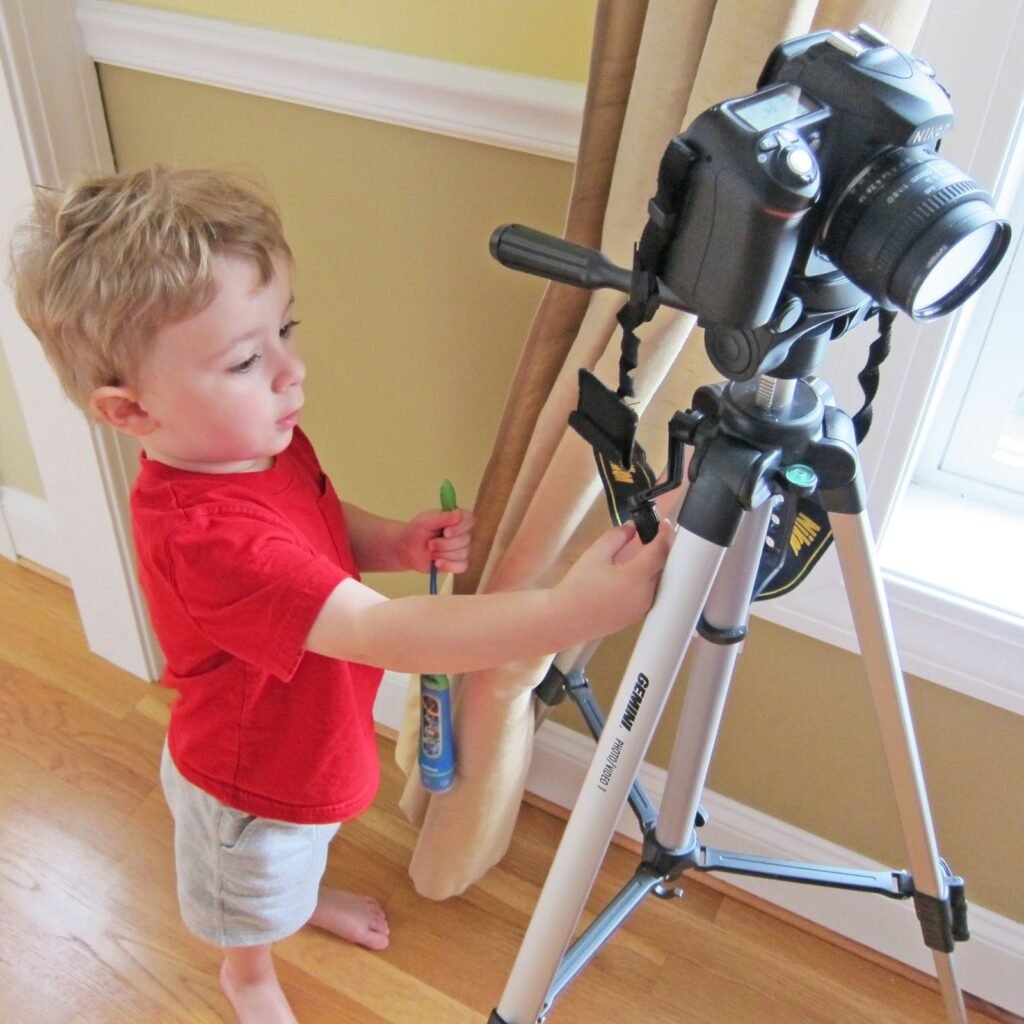
I would like to thank my production team for all their help. Here is my Chief Technical Engineer, he always makes sure my tripod is in working order by randomly turning knobs and waiting for a reaction.
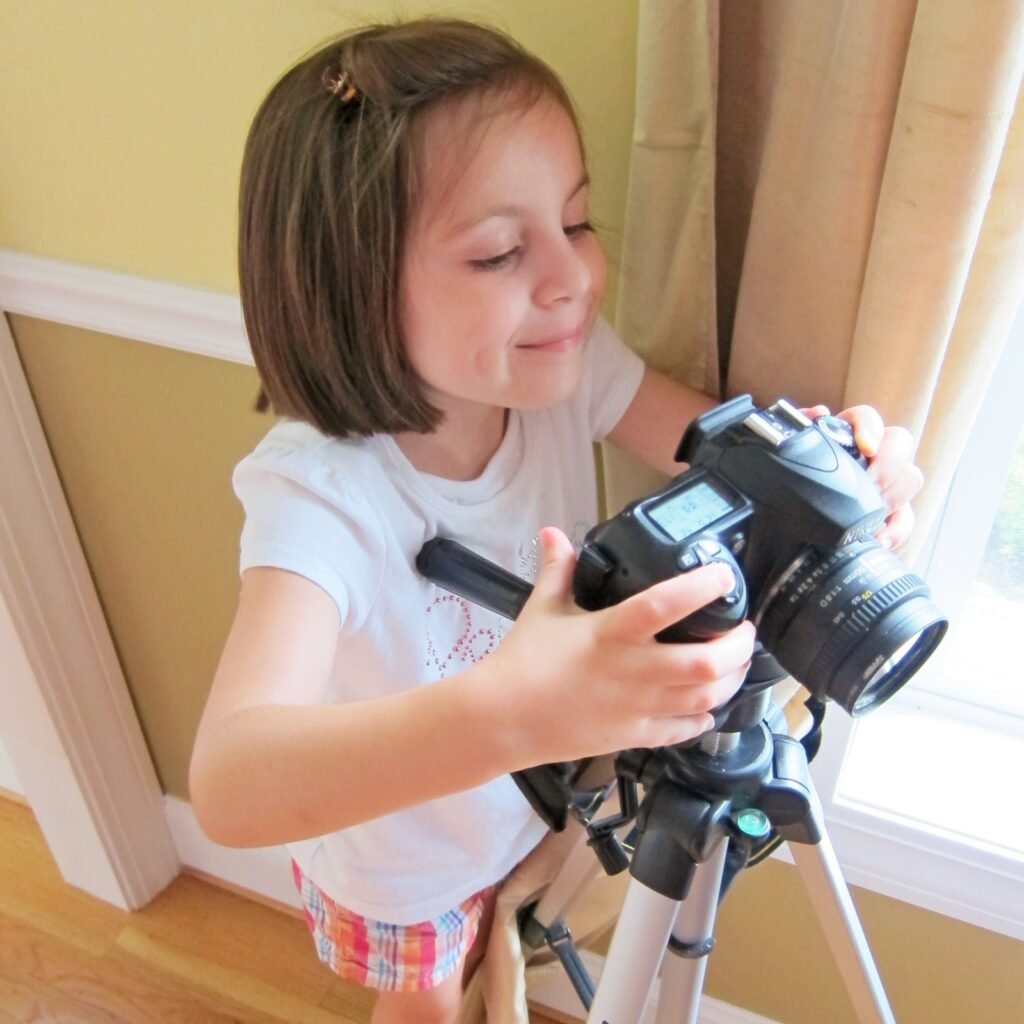
And here is my Assistant Photographer. She is in charge of taking test shots to make sure the camera is working properly and that my set looks good. I don’t know what I would do without them. Well, except maybe take my pictures a lot faster.
So how do you take your food photos? I’d love to hear from you.
Pumpkin, Banana, & Apple Yogurt Smoothie

I am still on a pumpkin kick this week. I have been making a lot of fruit and yogurt smoothies lately, so I thought I’d make a pumpkin smoothie. I try to eat more yogurt, but I go through phases. Sometimes I will eat it for two weeks straight and then get sick of it and don’t eat it for a month.
When I am in my “I am so sick of yogurt” phase, I usually throw it in a blender with fruit and make a smoothie. It’s easier to slurp down with a straw and I am eating something healthy. It’s a win, win situation.
I just dump all the ingredients in the blender and turn it on. Simple, easy, and healthy. Ok so maybe the caramel is not so healthy, but I just had to do it. Besides, I only used a teaspoon.
This smoothie was a big hit. I gave it to my six year old daughter, thinking she would take a few sips and then not like the pumpkin taste. Instead she downed the entire glass all by herself while eating a pumpkin apple scone (recipe coming later in the week). So see, kids will love it too. I think the pumpkin and apple were a perfect match and the caramel added just the right amount of sweetness, without making it too rich.
Pumpkin, Apple, and Banana Yogurt Smoothie
by The Sweet Chick
Prep Time: 15 minutes
Keywords: breakfast beverage snack pumpkin apple banana yogurt
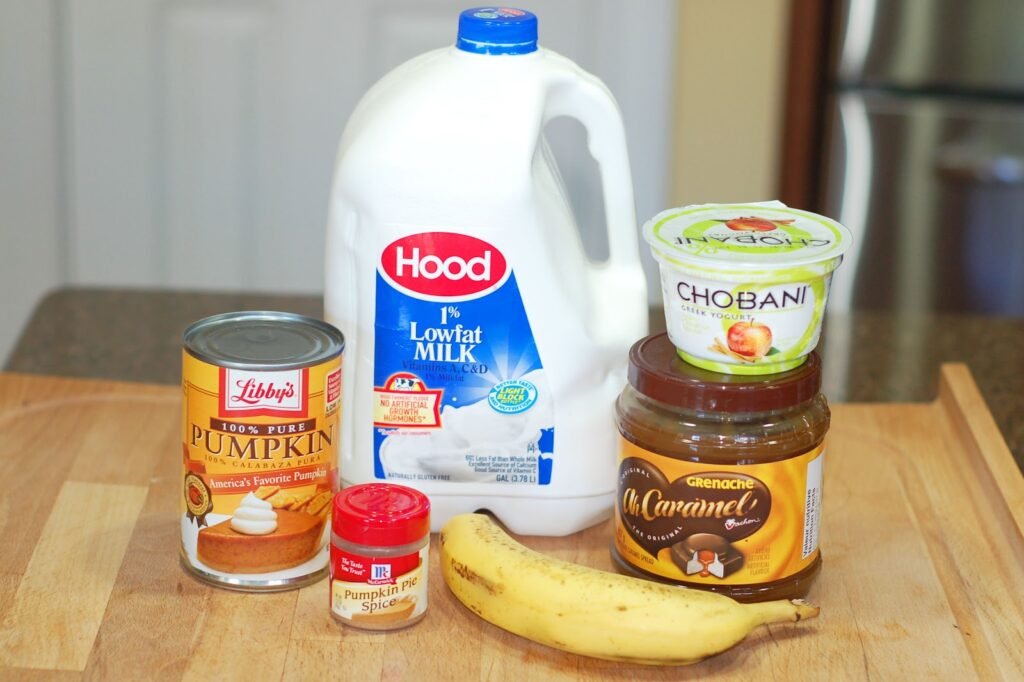
Ingredients (serves 2)
- 1 banana, chopped
- 1 6oz. container Chobani Apple Cinnamon Greek Yogurt
- 1/4 cup pumpkin puree
- 1/2 teaspoon pumpkin pie spice
- 1 teaspoon caramel (or caramel topping, or pure maple syrup)
- 1 cup milk
Instructions
Place chopped banana in blender.
Then add yogurt, pumpkin puree, spice and caramel.
Pour in milk and blend for 1-2 minutes, or until smooth and well mixed.
Pour into two glasses, add straws, and share with a friend. Enjoy!