
Churro Crepes with Homemade Dulce de Leche

Medically reviewed by Christiana George Updated Date: December 17, 2022

Well, since every time I post a type of churro recipe, my blog buzzes with action, here is another one. Churro Crepes. I made these for my family one Sunday morning and I made some for the guys at my office. I received high compliments, so I thought I ‘d share the recipe. Crepes are so easy to make once you get the batter right. You don’t need any fancy equipment. My mom always made her crepes in a regular pan greased with good old Crisco. I prefer a non-stick pan coated with cooking spray. To each their own.

I did try two different dulce de leches with the crepes. The darker dulce de leche was made by a friend. She boils her unopened can of sweetened condensed milk in a pot on the stove for about 1.5 hrs, flipping it over half way through. It produced a darker, thicker, and more rich flavored dulce de leche. I cooked mine in a jar in the slow cooker for 10 hours (see how here). I ended up with a lighter, creamier and thinner dulce de leche. Each is equally good, it just depends on what you need it for. If you want to use it as a filling for a cake or cupcakes, the thicker one is better. If you want to pour it over ice cream or crepes, then the thinner one works better. I did like my homemade dulce de leche better with these crepes because the taste didn’t over power the cinnamon flavor and the light fluffy texture of the crepe. The thicker, darker dulce de leche was just to strong for this delicate treat.

For those who just don’t care and are really not interested in making their own dulce de leche, here is the brand I have used for other recipes. It is dark and thick like the one my friend made. You should be able to find it at your local Spanish market. If not, you can try La Salamandra brand on Amazon.com.
Churro Crepes
by The Sweet Chick
Prep Time: 5- 10 minutes
Cook Time: 18-20 minutes
Keywords: breakfast dessert dulce de leche cinnamon crepe
Ingredients (12 crepes)
For the crepes
- 1 1/4 cups milk
- 1 cup all purpose flour
- 1 whole egg
- 1 teaspoon vegetable oil
- 1/4 teaspoon baking powder
- 1 teaspoon pure vanilla extract
- 1 teaspoon ground cinnamon
For the cinnamon sugar
- 1/4 cup granulated sugar
- 1/4 cup light brown sugar
- 1 1/2 teaspoons cinnamon
Instructions
For the crepes
In a blender or with hand mixer, combine all ingredients. Blend until smooth.
Heat a nonstick skillet with flared sides over medium-high heat. Remove from heat. Pour 1/4 cup batter into skillet; lift and tilt the skillet to spread batter evenly across bottom of skillet. Return to heat. Cook about 1 minute or until light brown.
Flip crepe with a spatula and cook the other side for about 30 seconds. Remove from pan and place on a warm plate and cover to keep warm.
Repeat with remaining batter.
When all crepes are cooked, fill them with 3 tablespoons (or more if you like) of dulce de leche and either fold the side of the crepes into the middle or roll up the crepes.
For the cinnamon sugar
Sprinkle 1/4 teaspoon of cinnamon sugar over the top of each crepe.
Eat and enjoy!
Related Posts






Subscribe for New Racipies
Get mental health tips, updates, and resources delivered to your inbox.
Chocolate Maple Donuts

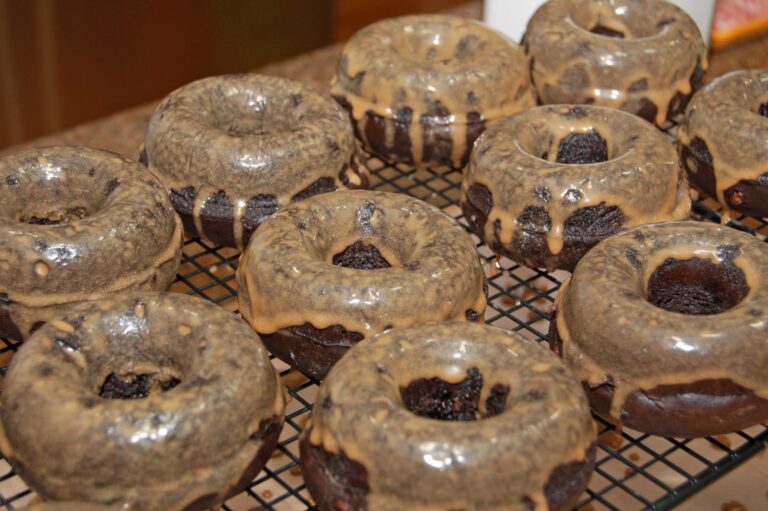
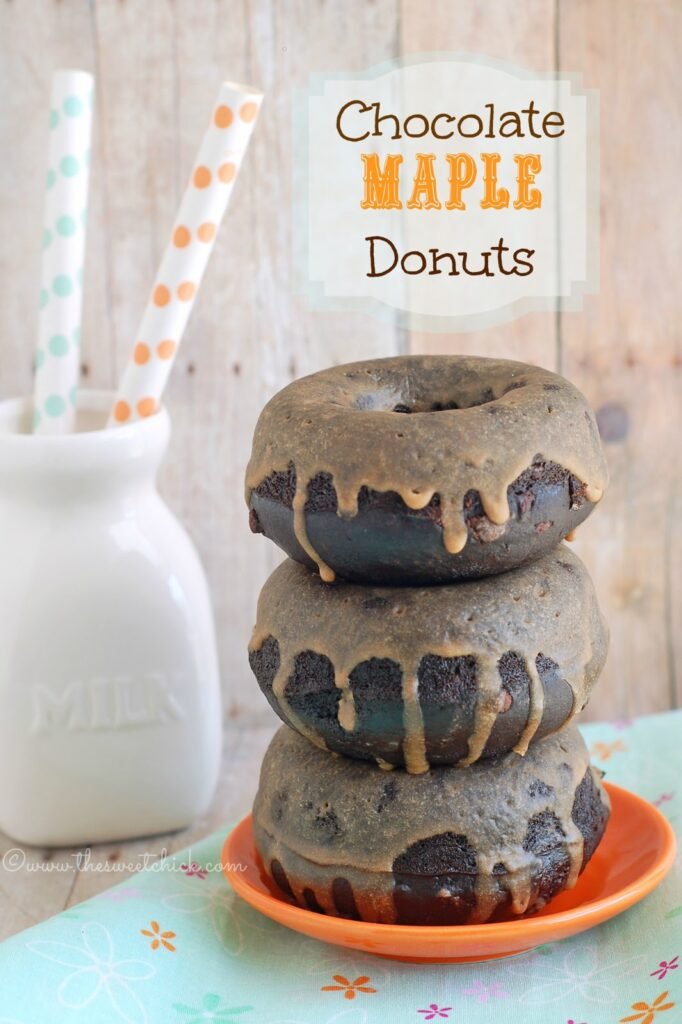
Trying to sell a house is very frustrating. Especially if you really want to move. We are still waiting for the people that want to buy our house to sell their place. If they don’t sell, they can’t buy and if we don’t sell, we can’t buy. So as much as we want to move, we are still not certain we will be able to. We are playing the waiting game and I suck at it. In the meantime, I am going to stuff my face with donuts.

Chocolate and maple syrup go great together. I remember growing up, my dad would always pour maple syrup over his chocolate cake. So why not bake it into some chocolate donuts, I say.
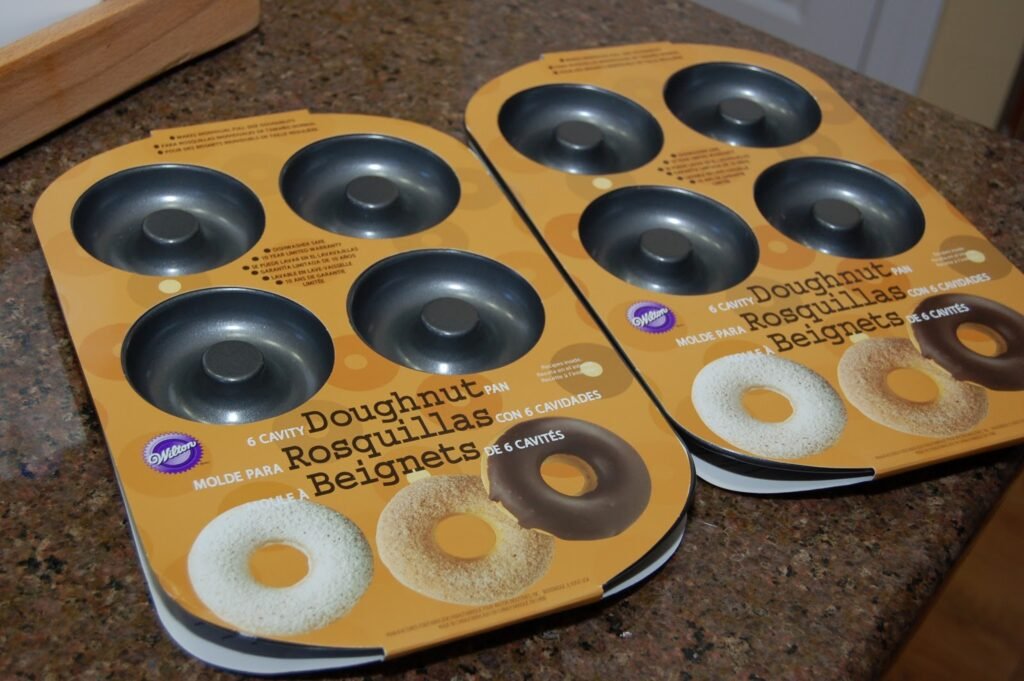
My husband bought me these new pans last month for my birthday. Now I can make larger donuts. However, those are a lot more dangerous to have around the house. At least the mini donuts don’t make you feel as guilty for eating them.

I used my favorite Hershey’s Special Dark Cocoa to make it a more decadent chocolate treat. You can go ahead and lick the spoon at this point. You know you want to.
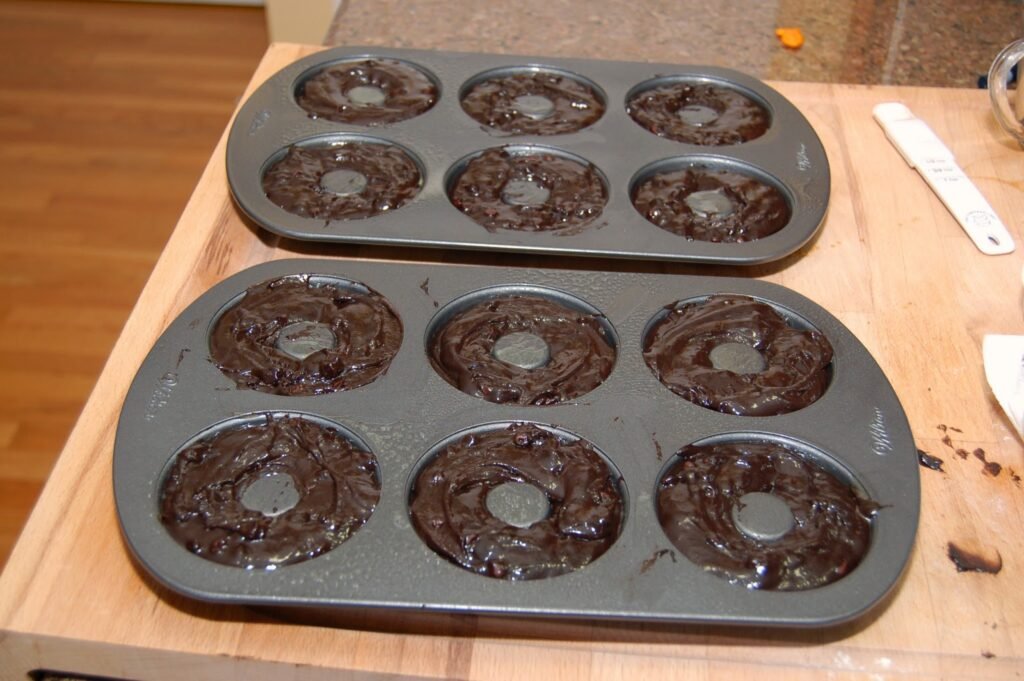
I did make one mistake by filling these pans all the way to the top. That resulted in my donuts coming out a little extra puffy.
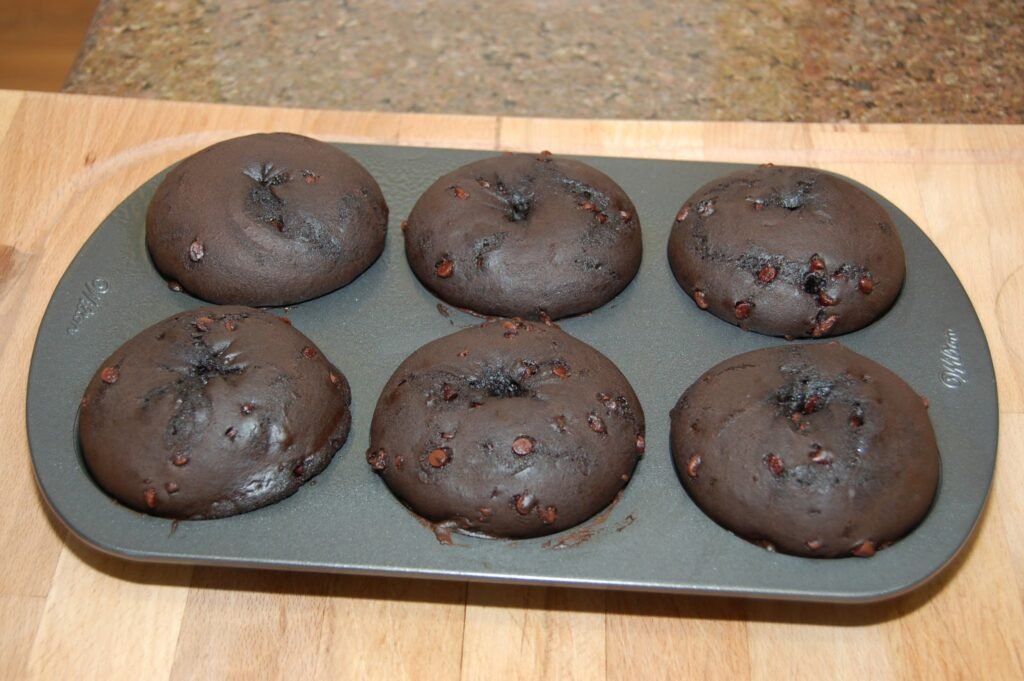
But never fear, I am not going to waste perfectly good donuts. I just flipped them over and cut out the holes with a small paring knife.

And for the love of donuts, don’t throw out those middles, just feed them to the kitchen trolls (kids or animals) that have been hovering around waiting for you to finish up and give them a donut already.

You can leave the donuts plain if you want. They are rich in chocolate and maple flavor. Yes, they are cake-like as the original recipe stated. I wanted to add a little more cinnamon flavor so I added some in the glaze. You can also make a thicker glaze if you like by adding one less tablespoon of milk.
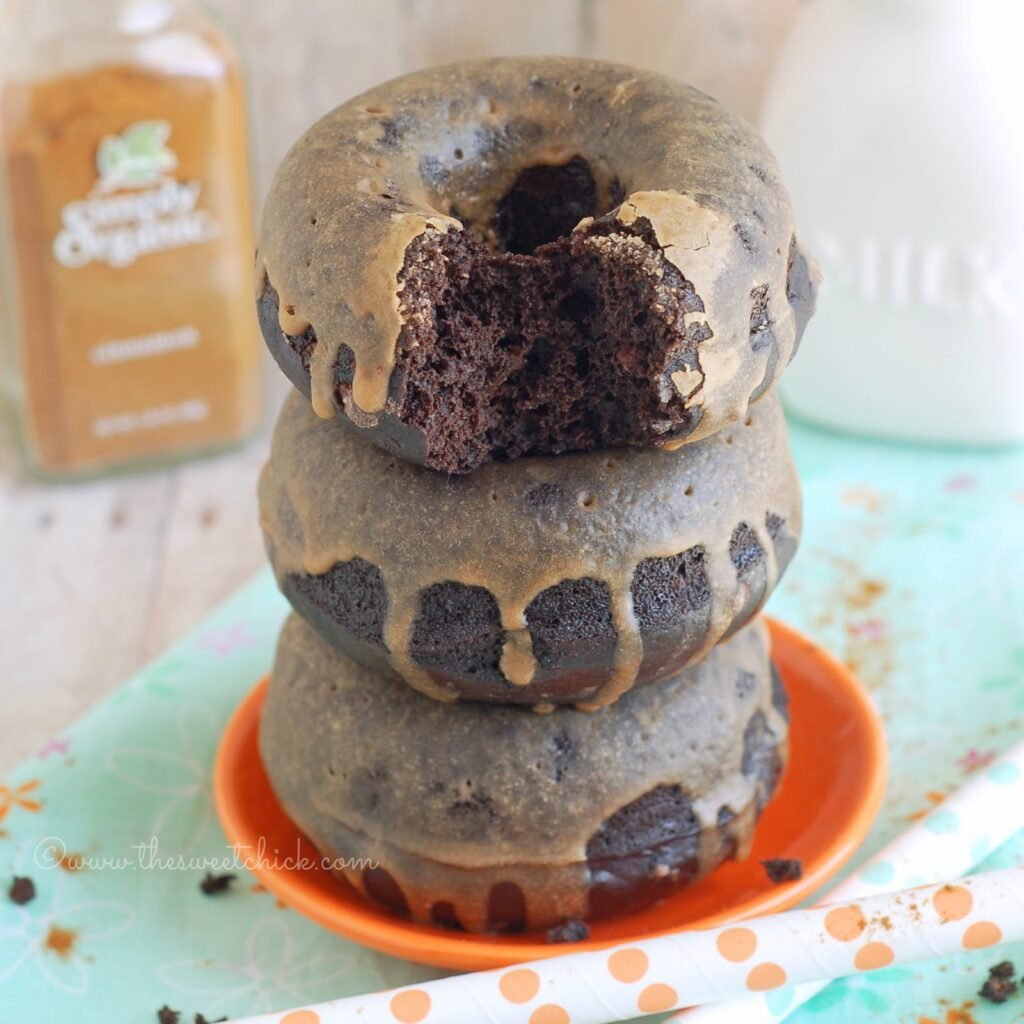
I am going to go finish stuffing my face now. I think these are my favorite chocolate donuts so far.
Chocolate Maple Donuts
by The Sweet Chick
Prep Time: 15 minutes
Cook Time: 12-15 minutes
Keywords: bake dessert snack breakfast dark chocolate chocolate chips maple syrup cinnamon donuts American
Ingredients (12 donuts)
For the donuts
- 1 cup all purpose flour
- 1 cup cake flour
- 2/3 cup Hershey’s Special Dark Cocoa
- 1 cup light brown sugar
- 1 teaspoon baking soda
- 1 teaspoon baking powder
- 3/4 teaspoon salt
- 1 1/2 teaspoons cinnamon
- 2 large eggs, beaten
- 3/4 cup milk
- 1/2 cup pure maple syrup
- 1/4 cup Chobani plain yogurt
- 1 cup mini chocolate chips
For the glaze
- 1 cup powdered sugar
- 3 tablespoons milk
- 1 teaspoon vegetable shortening (Crisco)
- 1 teaspoon maple essence (or maple extract)
- 1/4 teaspoon cinnamon
Instructions
For the donuts
Preheat oven to 350º F.
Using a hand mixer or stand mixer, mix together the flours, cocoa, sugar, baking soda, baking powder, salt and cinnamon until well combined.
Add the eggs, milk, maple syrup and yogurt. Mix on low until mixture is smooth and well blended.
Then add chocolate chips and mix until all incorporated.
Use a piping bag or a Ziplock bag with tip cut off, to fill each donut reservoir to about 3/4 of the way full.
Bake at 350ºF for 12-15 minutes until toothpick inserted in the donut comes out clean.
Place hot donuts on cooling rack with a wax paper underneath and prepare the glaze.
For the glaze
In a small bowl whisk together powdered sugar, milk, vegetable shortening, maple essence and cinnamon until smooth.
Dip the tops of each donut in the mixture ,then place back on the cooling rack until the glaze is dry.
Then grab a glass of milk or a cup of coffee and dunk you donut! Enjoy!
Related Posts
Subscribe for New Racipies
Get mental health tips, updates, and resources delivered to your inbox.