Rice Krispie Cupcake Pops

Been busy around here with graduations and birthdays. Here is a cute treat I made for my daughter’s class to celebrate her birthday this month. It’s quick, easy, and no bake. Perfect for a summer birthday. And who doesn’t like Rice Krispie treats.

I bought this cute set of cupcake cookie cutters as Walmart, fully intending to bake up some cookies, but I really didn’t want to turn on the oven and heat up the whole kitchen. So I came up with this idea.

You just make a batch of Rice Krispie treats, cut out the cupcake shape and decorate with candy melt. I put mine on popsicle sticks for some extra fun.

I used Wilton #1 decorating tip to outline and fill in the cupcake design.

I really like how they came out and the kids loved them too.


Rice Krispie Cupcake Pops
by The Sweet Chick
Prep Time: 20-30 minutes
Cook Time: 10 minutes
Keywords: no bake dessert rice krispies birthday Rice Krispie Treats
Ingredients (about 12 cupcake pops)
For Rice Krispie Treats
- 3 tablespoons butter or margarine
- 1 package (10 oz.) regular marshmallows or 4 cups of mini marshmallows
- 6 cups Rice Krispies cereal
For Decorating
- 2 cups white or pink candy melt wafers
- 2 cups light or dark chocolate candy melt wafers
- 1 cup red candy melt wafers
- sprinkles
Also needed
- cupcake cookie cutter
- disposable cake/candy decorating bags
- Wilton cake decorating tip #1 (optional)
- popsicle sticks
Instructions
1. Melt butter over low heat in a large pot. Add marshmallows and stir until completely melted. Remove from heat.
2. Add Rice Krispies cereal. Stir until cereal is all coated with the marshmallow/butter.
3. Using a buttered spatula or wax paper, spread the Rice Krispies mixture onto a wax paper on a flat surface or in a greased jelly roll pan till about a half inch thick.
4. Use your cookie cutter to cut out shapes. You should be able to to yield 12 cupcake shapes. Use every last bit of mixture. Just keep compressing it together to cut out your shapes.
5. Place completed cupcakes into the fridge for 15 minutes to firm up before decorating.
6. Meanwhile melt the white/pink candy wafers one cup at a time in the microwave, preferably in a glass container as per instructions on package. ( I use a glass measuring cup, because it makes it easier to pour the melted candy into the decorating bags later.) Dip the popsicle sticks in the candy melt (only a small dab) and insert in the firmed up Rice Krispie cupcakes.
7. Then pour the remainder of the candy melt into a disposable decorating bags. Using a Wilton #1 cake decorating tip or cutting a very small hole in the tip of the decorating bag, outline the frosting part of the cupcake shape on the top of the Rice Krispie treat, then fill in.
8. Carefully add sprinkles to the white/pink candy melt and place cupcakes back in fridge for 5 minutes to harden the candy melt.
9. Next melt the chocolate candy melt and outline and fill in the bottom half of the cupcake design in the same fashion. While the chocolate candy melt is hardening, prepare your red candy melt and pipe on a small red circle on top of the cupcake design for the cherry.
10. You can store the treats in an air tight container for two days at room temperature or in the fridge for up to five days.
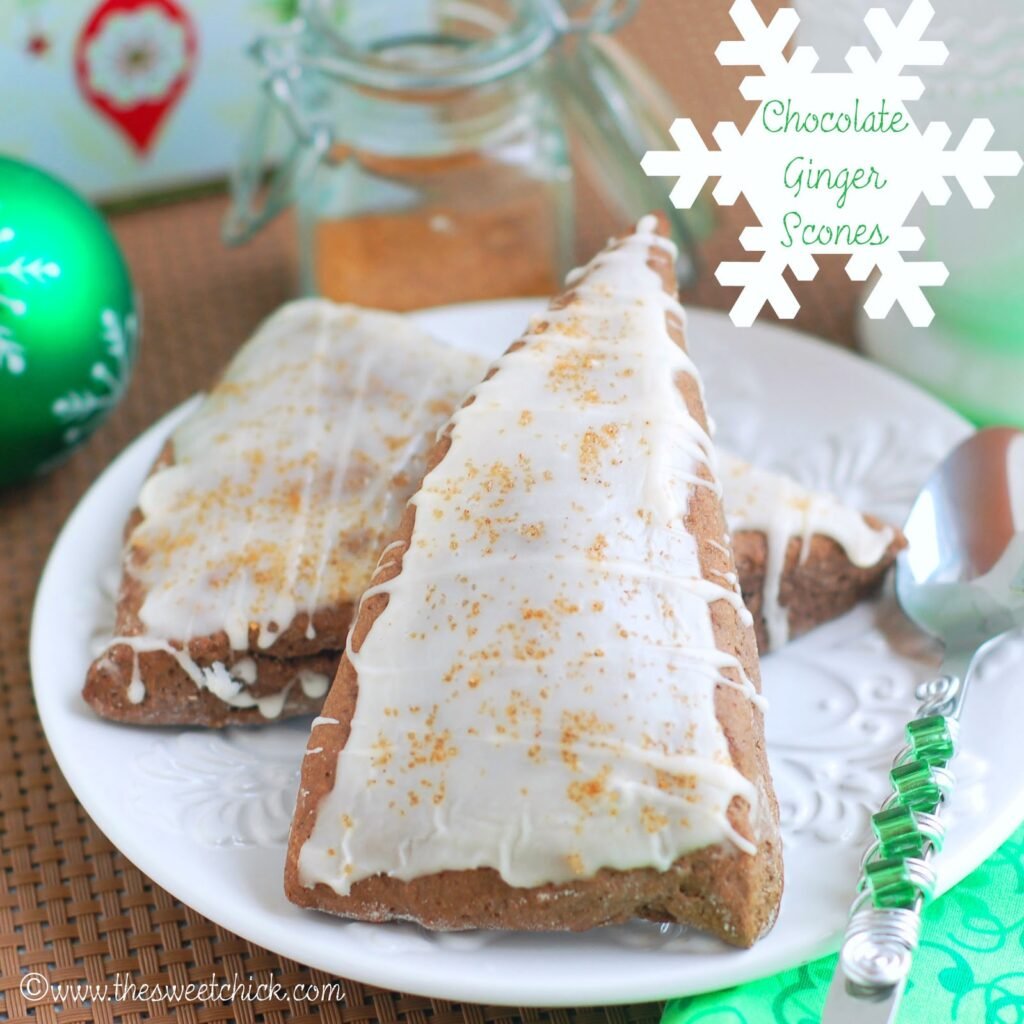
Chocolate Ginger Scones with an Egg Nog Glaze

The holidays are not over yet and neither is my obsession with chocolate and ginger.. I hope everyone enjoyed their Christmas celebrations. I know I did. My daughter was quite thrilled that Santa brought what she had asked for and my son could care less about opening gifts or playing with his new toys. But we did get to spend the whole day together just hanging around in our pajamas and having a nice family nap time. I really needed that.

I made these scones to bring to the office and share with my co-workers, but somehow they never left the house. My husband and I ate them all ourselves.
We ate some with our coffee. We ate some with our tea. We ate some for dessert. We ate some for breakfast. They are great anytime.

You can make them with or without the glaze. We tried them both ways and they still had a lot of flavor. They spices are not overly intense, but do play up the cocoa. They chocolate flavor is much less subdued then my Chocolate Ginger Cookies, but these are not meant to be cookies.
I made a very simple glaze to go along with the chocolate and ginger flavors. I used egg nog and powdered sugar.

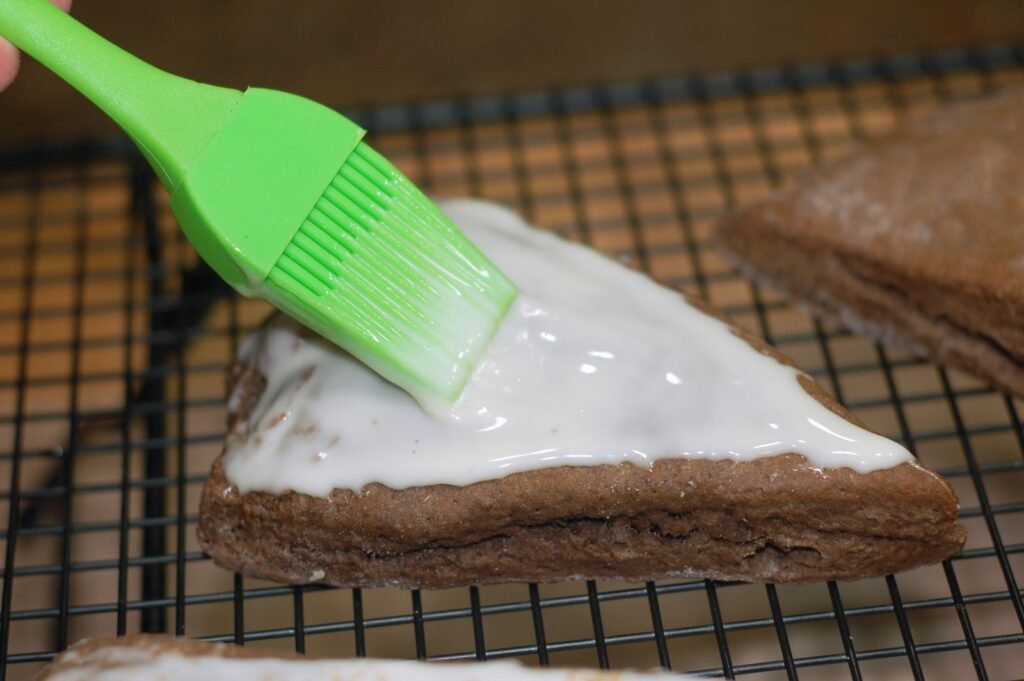
At first I brushed it on with a pastry brush, but then I decided they looked too pretty so I went back and drizzled some more glaze over them to messed them up a bit.
And then to finish them off, I sprinkled the glaze with some cinnamon sugar.
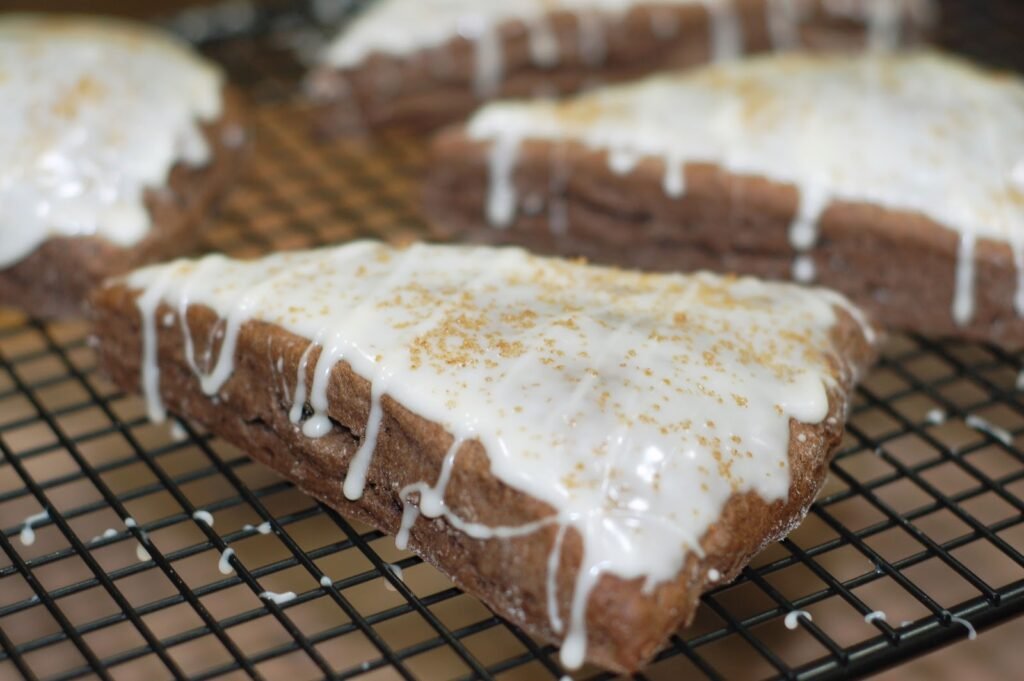
See this one here. It’s calling your name. Come on, take a bite, I won’t tell.
Chocolate Ginger Scones with an Egg Nog Glaze
by The Sweet Chick
Prep Time: 10-15 minutes
Cook Time: 15 minutes
Keywords: bake breakfast dessert snack chocolate ginger egg nog cinnamon Christmas scones winter
Ingredients (8 scones)
For the scones
- 2 cups flour
- 1/3 cup sugar
- 1/4 teaspoon ground cloves
- 1/4 teaspoon ground ginger
- 1/4 teaspoon ground cinnamon
- 2 tablespoons Hershey’s Dark Cocoa
- 2 tsp baking powder
- 6 tbsp cold butter
- 1/2 cup milk
- 1 egg
- 2 tablespoons dark molasses
For the glaze
- 1 cup powdered sugar
- 3 tablespoons egg nog
For the topping
- 1/4 cup brown sugar
- 1/2 teaspoon cinnamon
Instructions
For the scones
Preheat oven to 425º F.
In a stand mixer, mix flour, sugar, baking powder, spices, and cocoa. Cut up butter and add to flour mixture. Mix on low for 2 minutes.
In a separate bowl mix egg and milk until blended and add to the flour mixture.
Then add molasses and mix until all incorporated. The batter will be a dough like consistency.
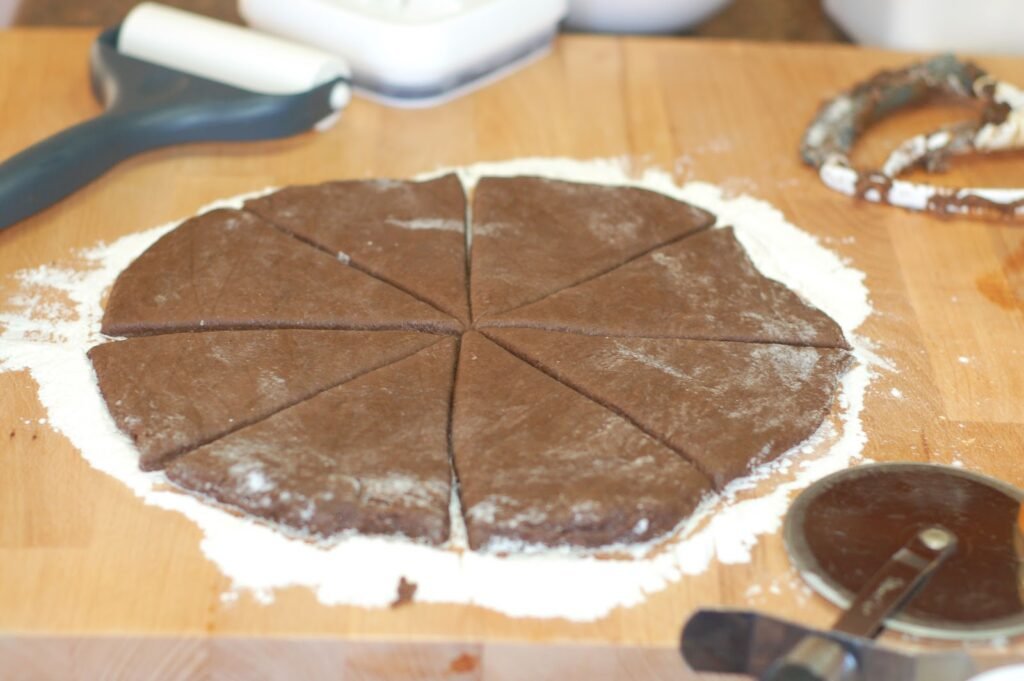
Take the dough and roll it into one big ball. Place the ball onto a lightly floured surface and flatten out to about an inch thick. With a knife or pizza cutter, divide the dough circle into equal triangles. I made eight big scones, but you can make yours a little smaller if you like.
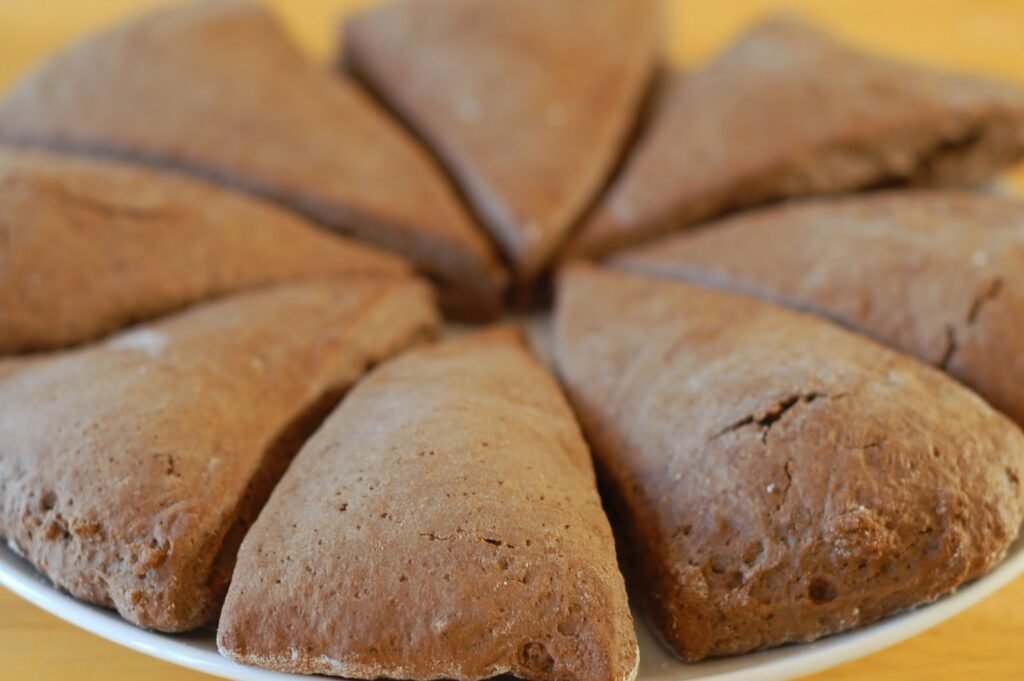
Separate the triangles and place on a cookie sheet.
Bake at 425 degrees for 15 minutes. Place on cooling rack.
For the glaze
In a medium bowl whisk together the powdered sugar and egg nog until smooth.
When scones have cooled off, brush or drizzle on the glaze and let it set.
For the topping
In a small bowl mix together the brown sugar and cinnamon, then sprinkle over the glaze before it sets.